Lessons have been taught, grades have been given .. We are in the final countdown of the 2014 – 2015 school year. It’s the perfect time for fun activities!!
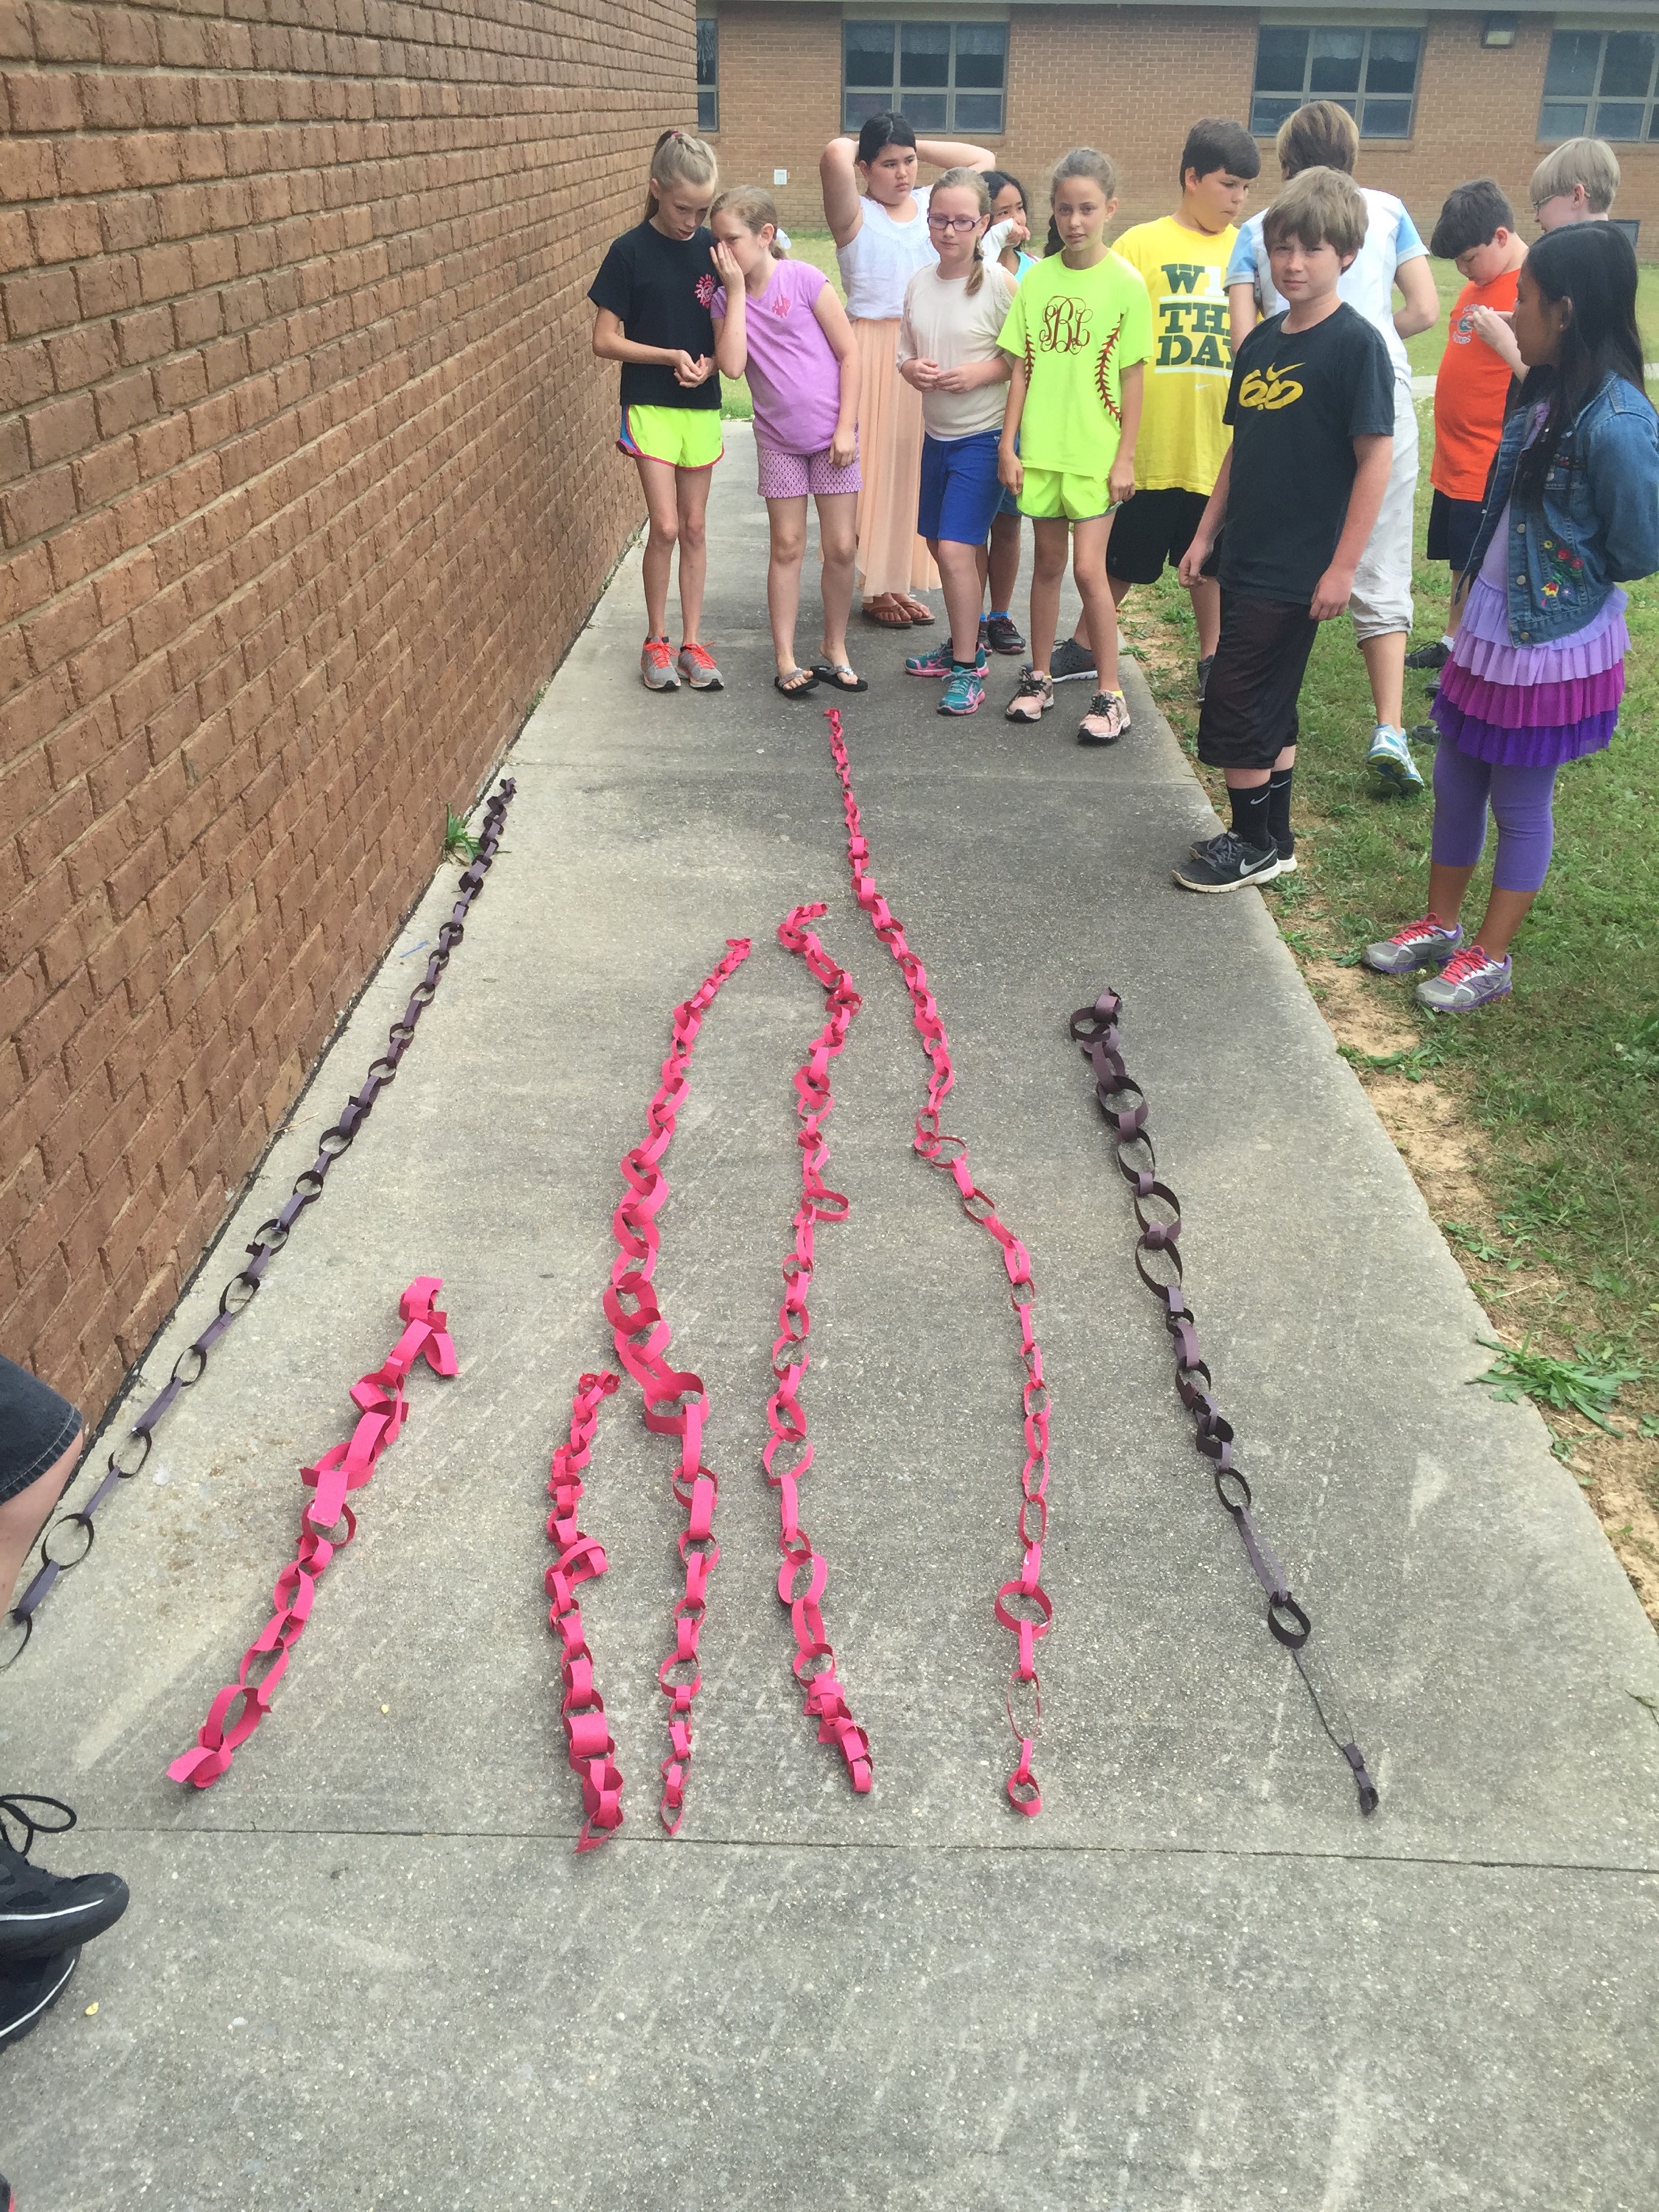
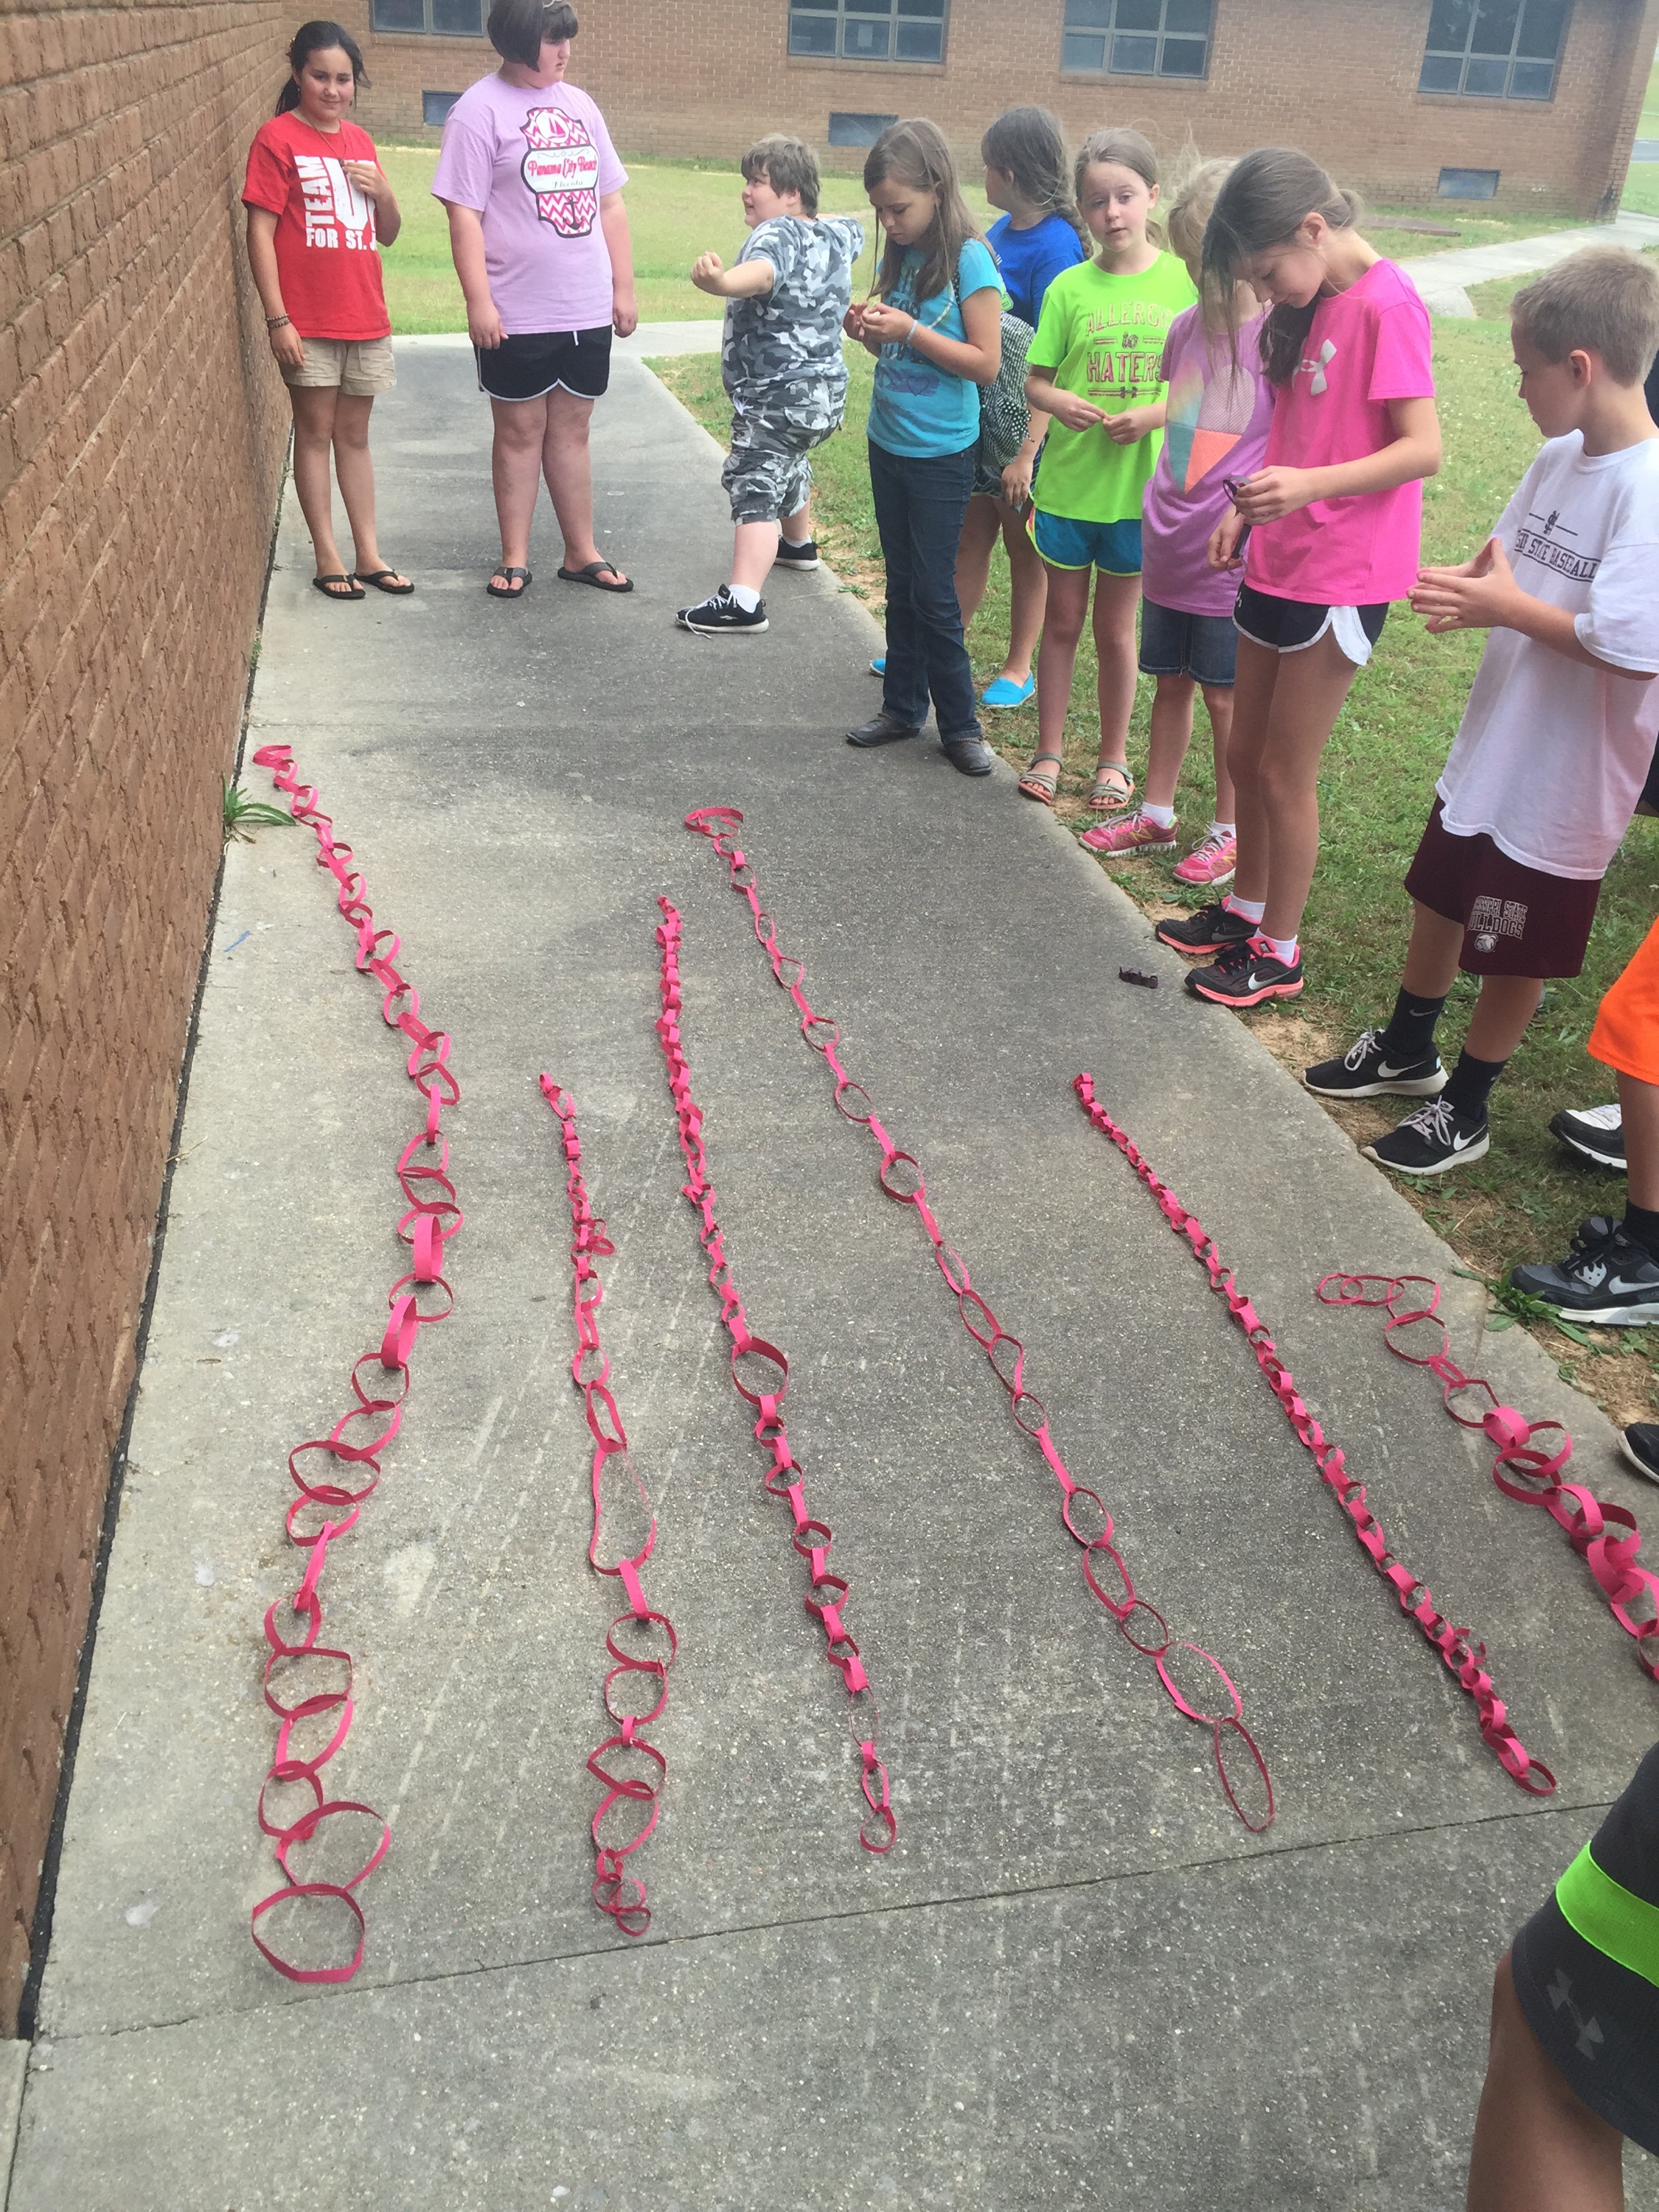
I saw this activity on Pinterest the other day, and I’m so glad we had time to squeeze it in before the end of the year. Students worked with partners/science groups to make a paper chain. Each group received the following supplies — one piece of construction paper (12 x 18), glue, and scissors. The objective was to make the longest paper chain in the class. Each class had 25 minutes, and then we went to the sidewalk to measure and find the winner from each class.
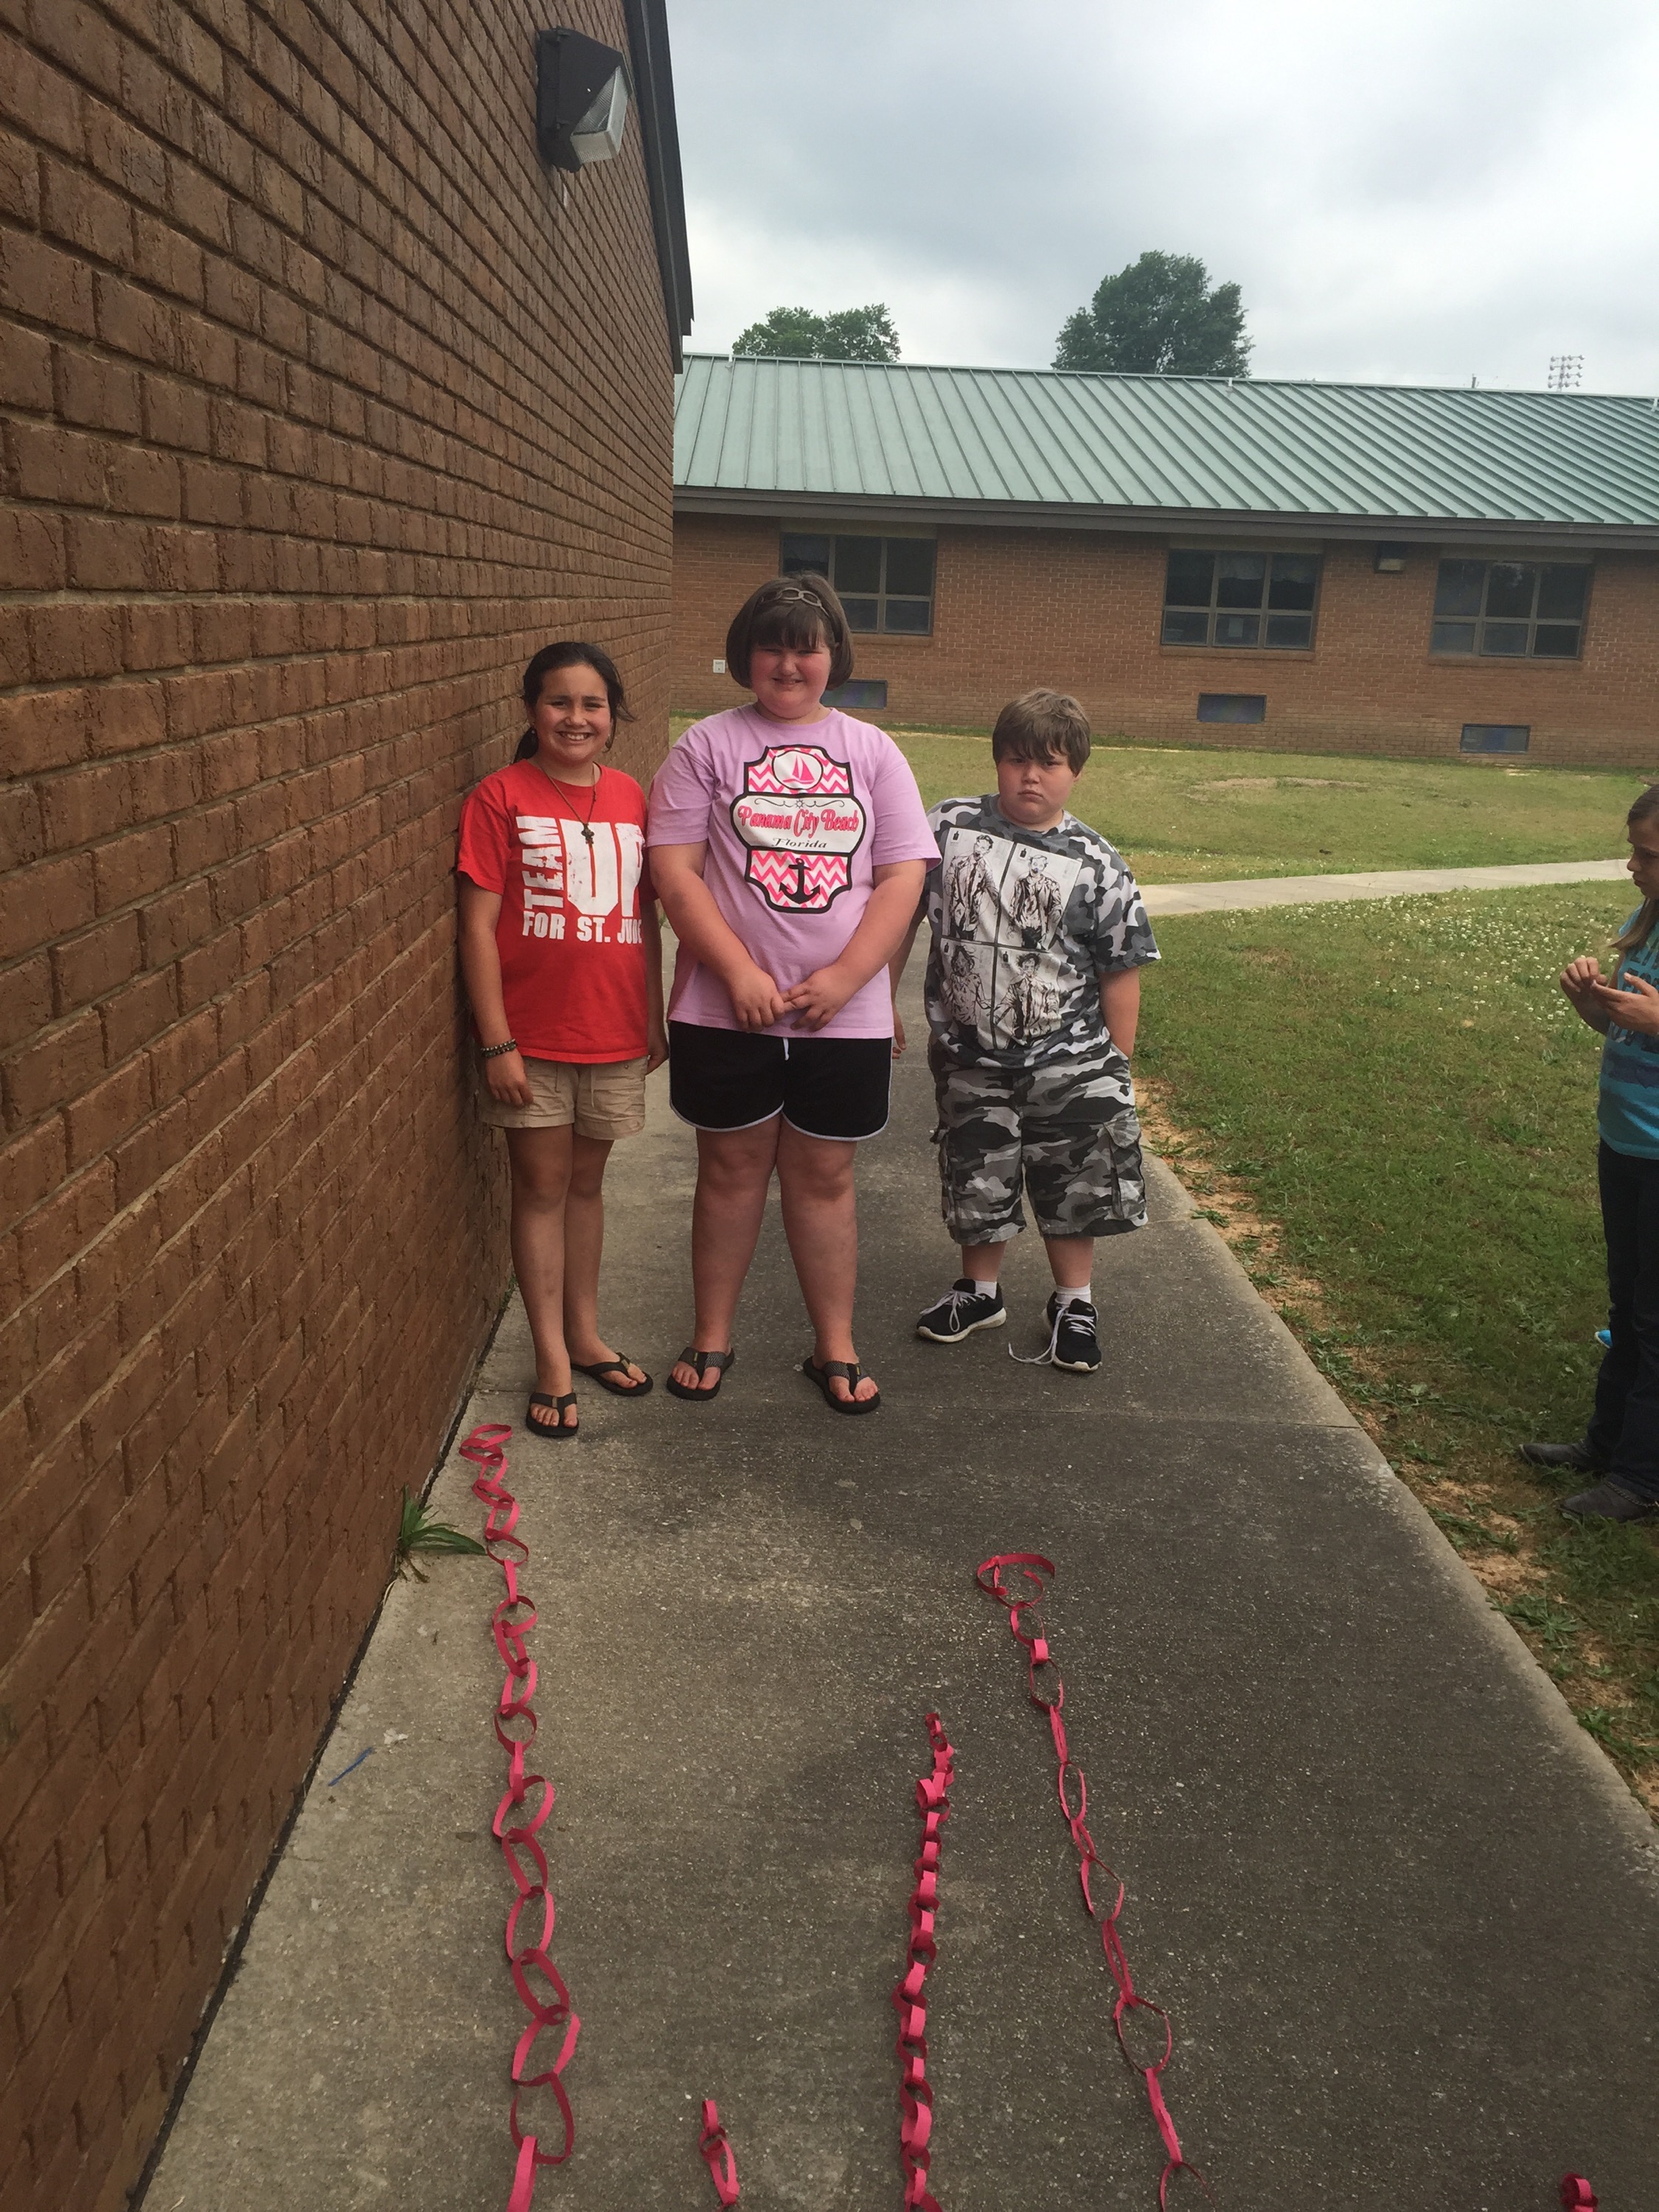
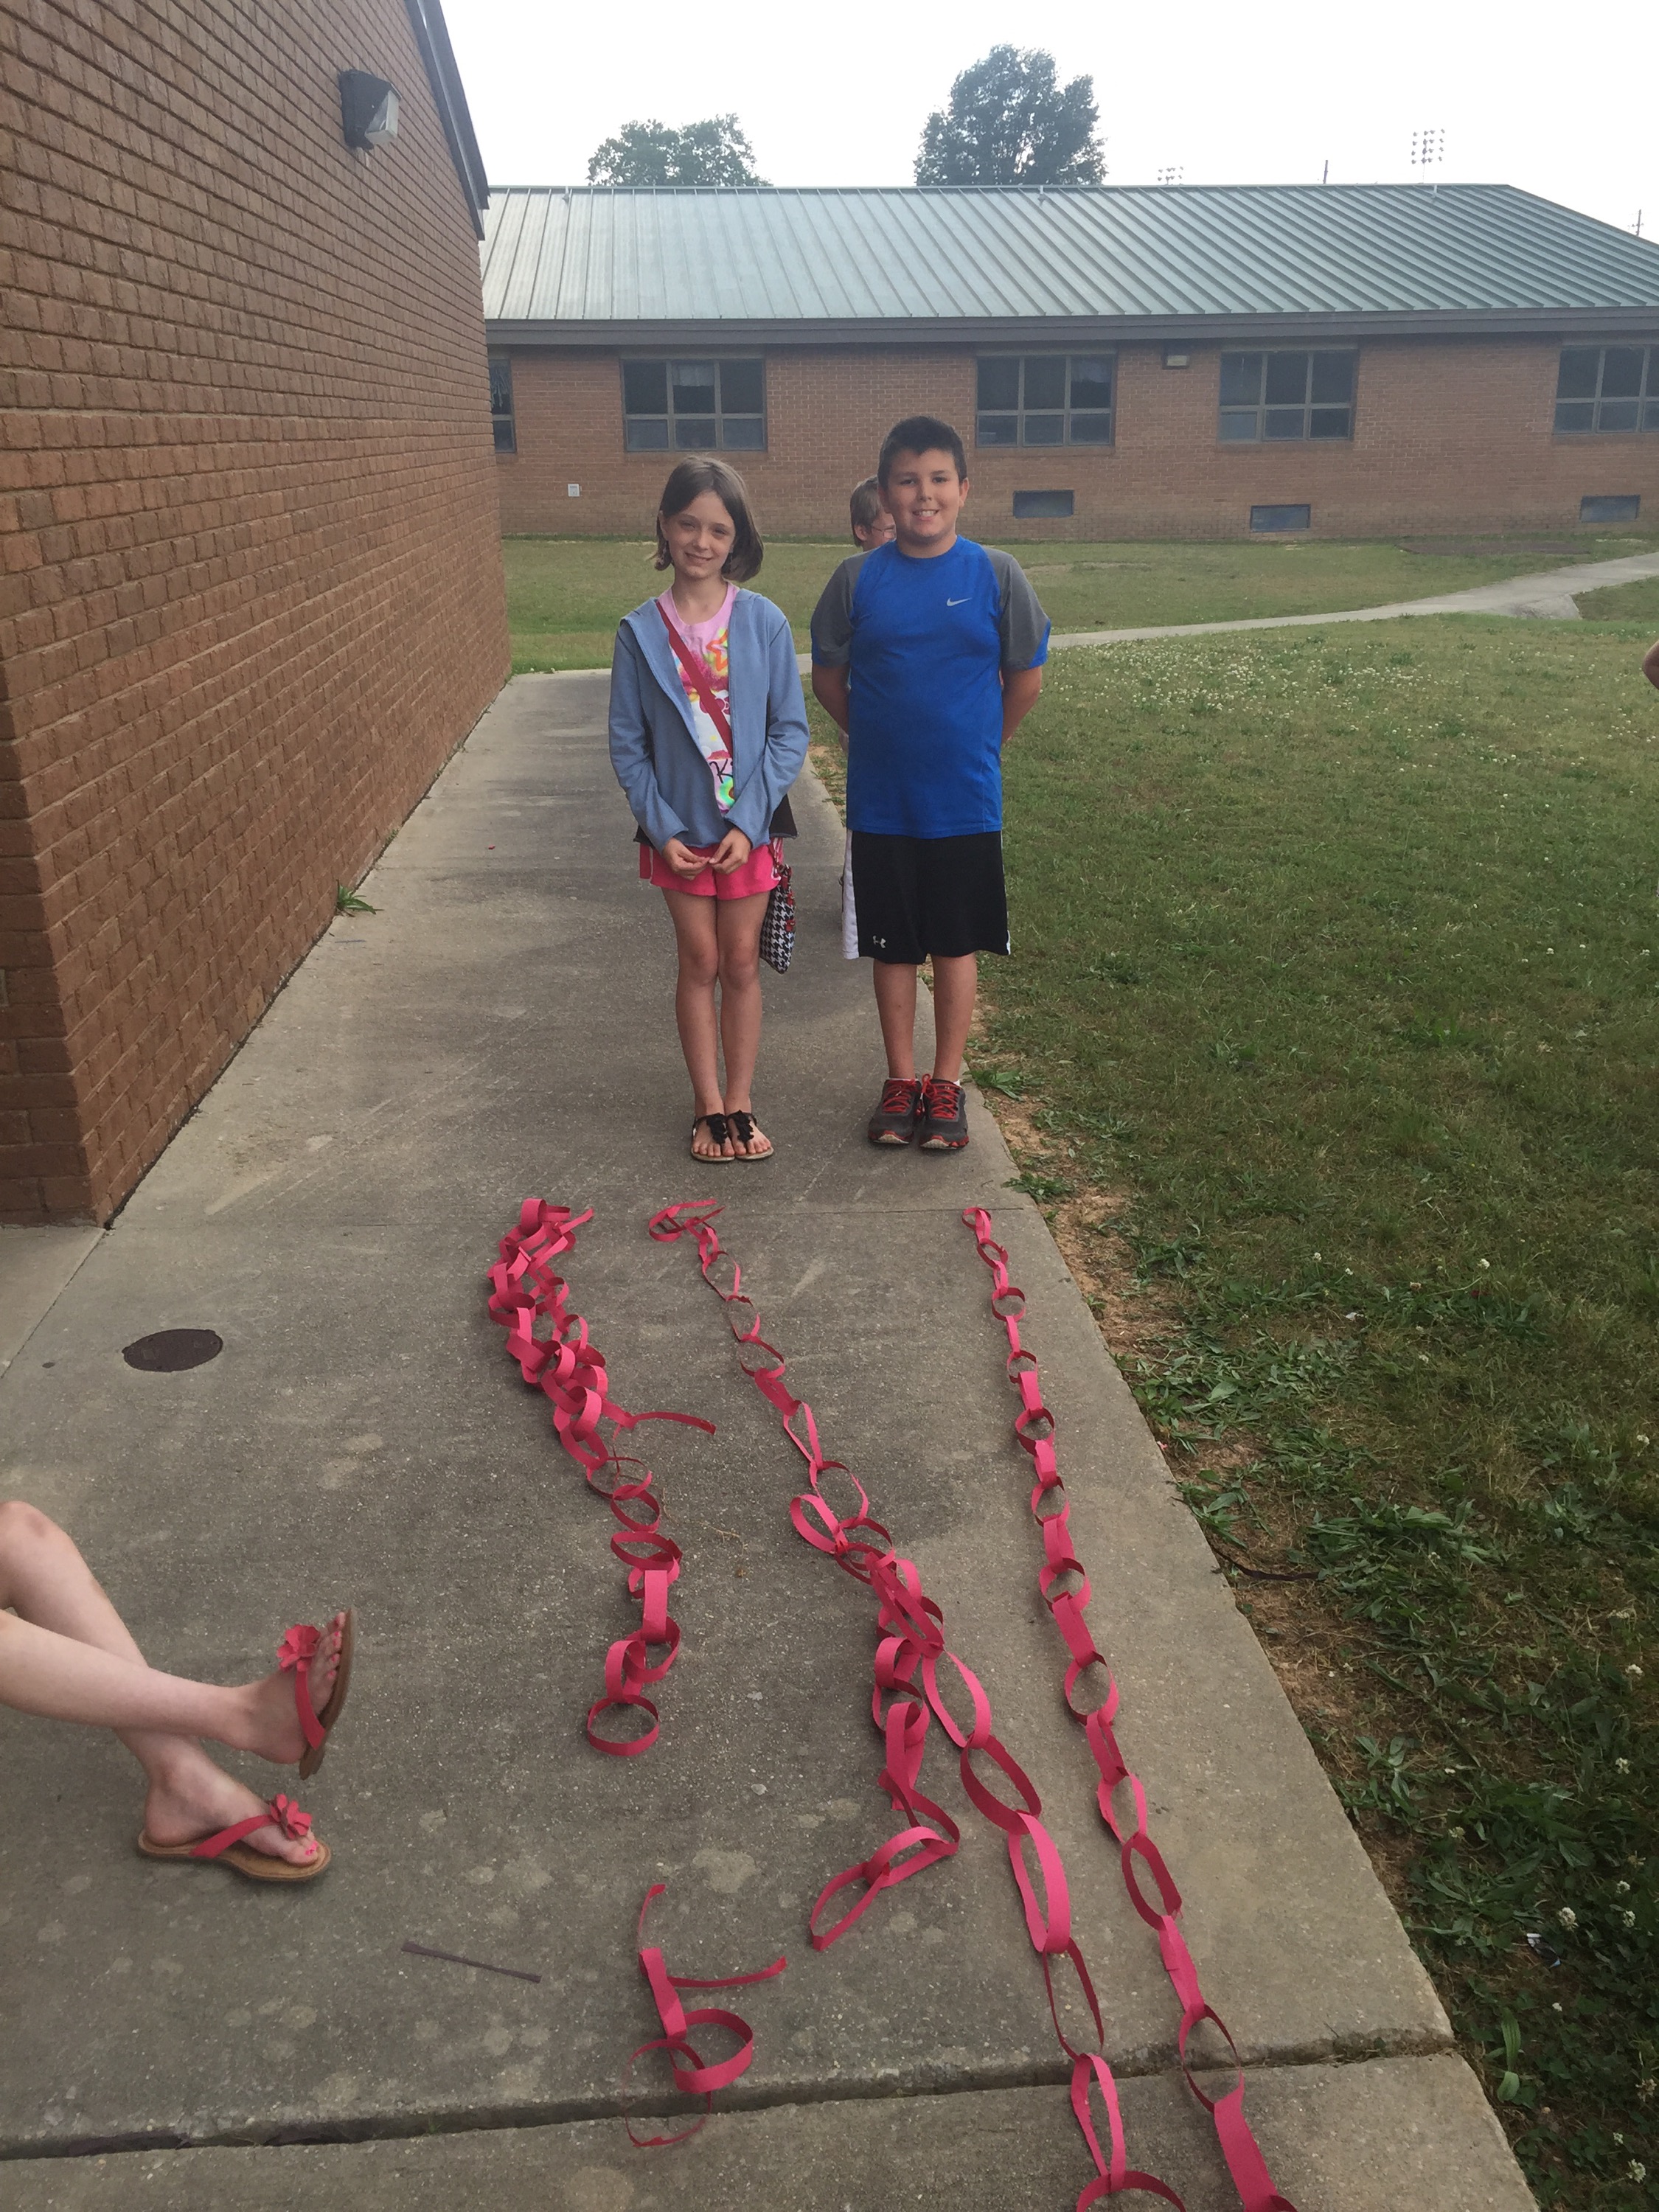
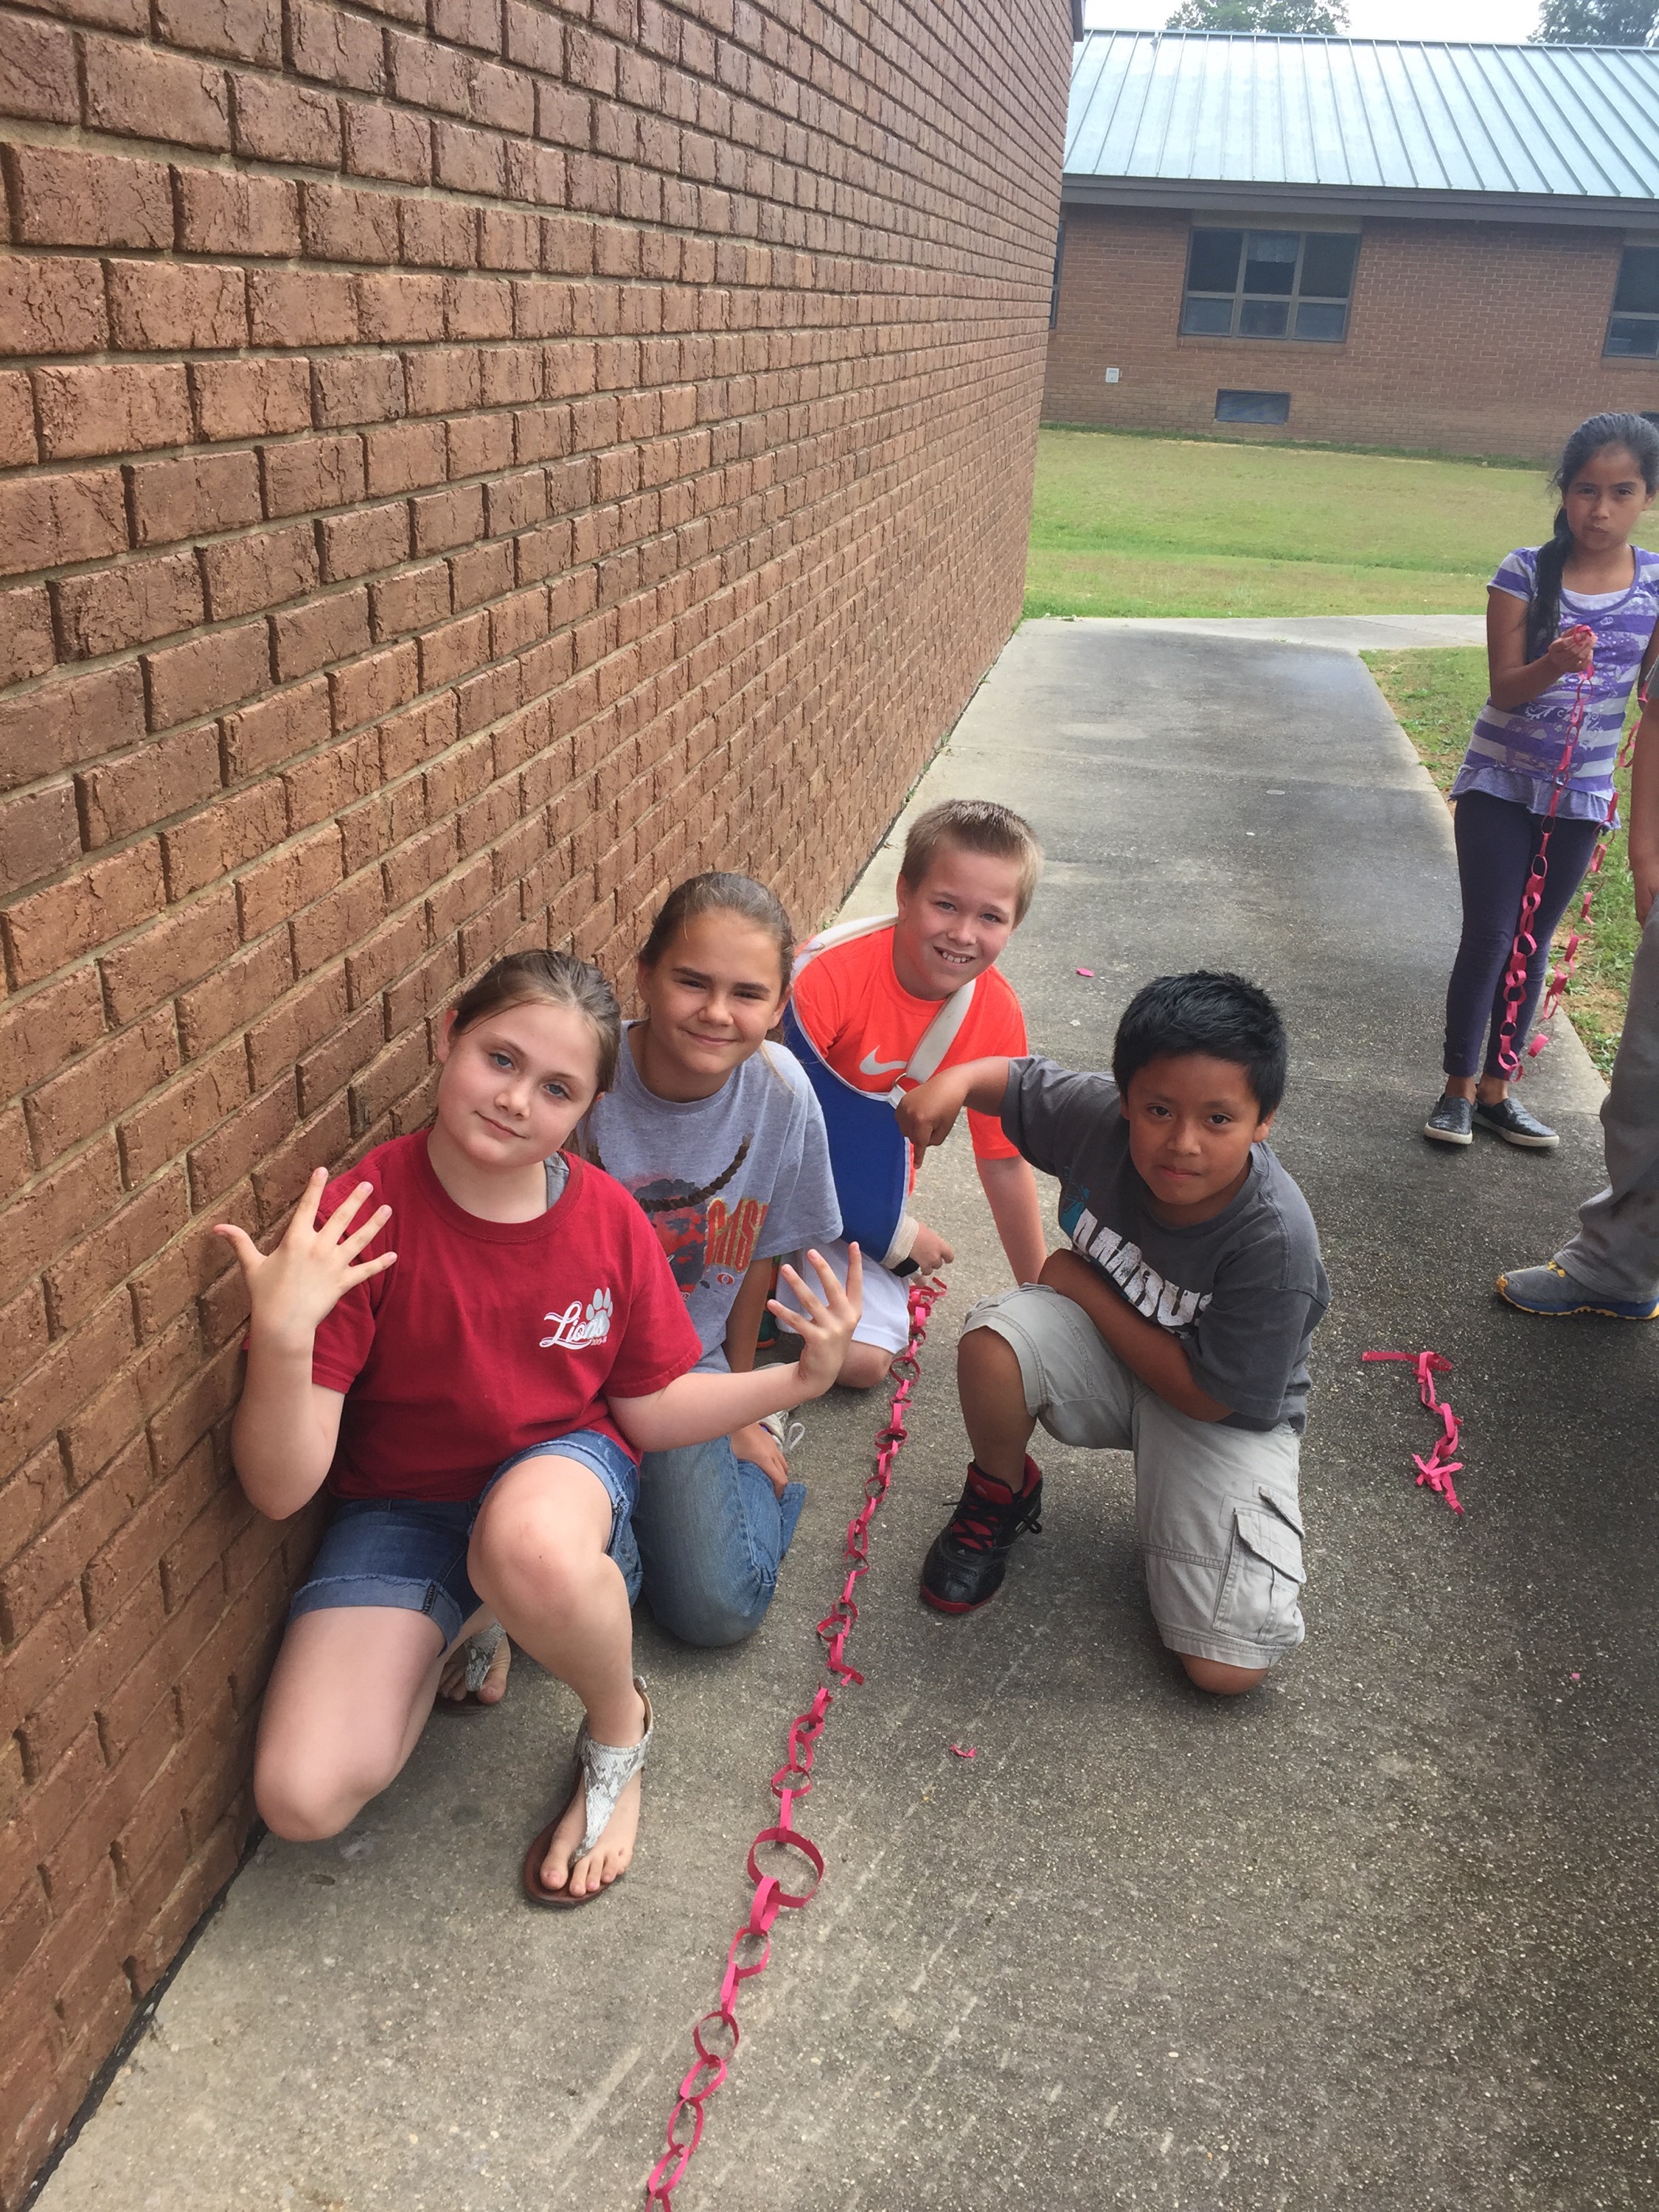
Homeroom:

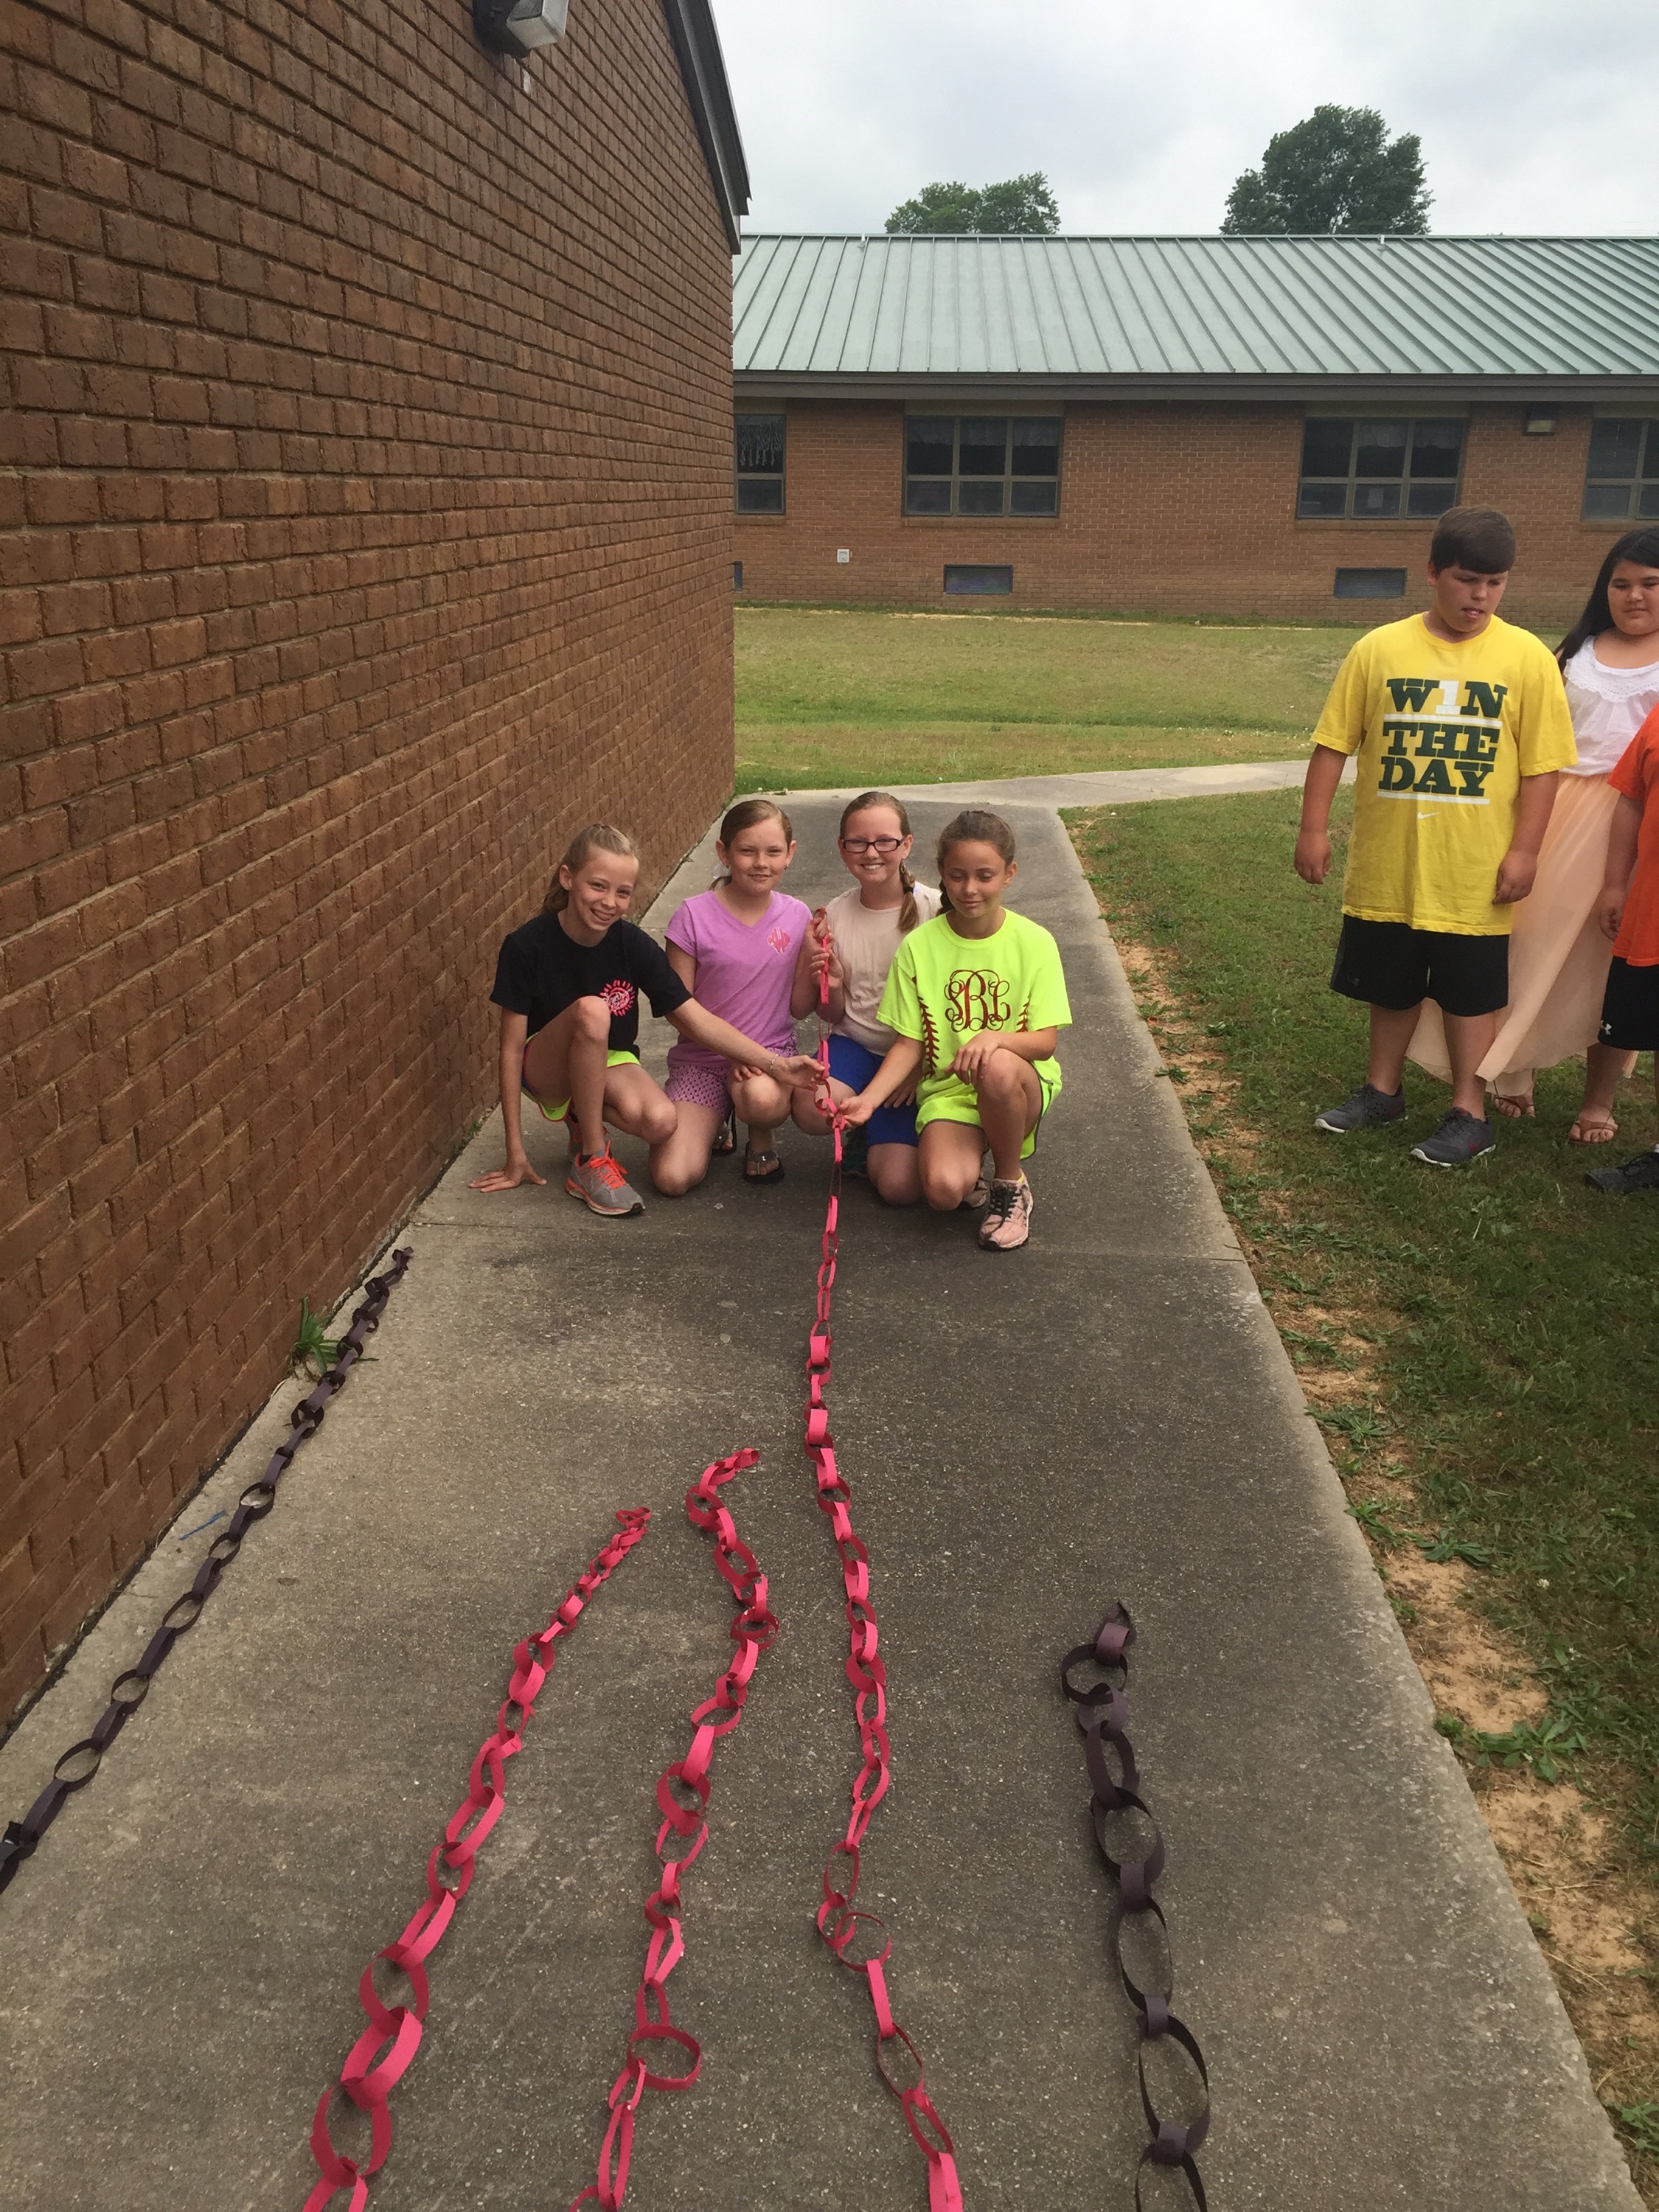
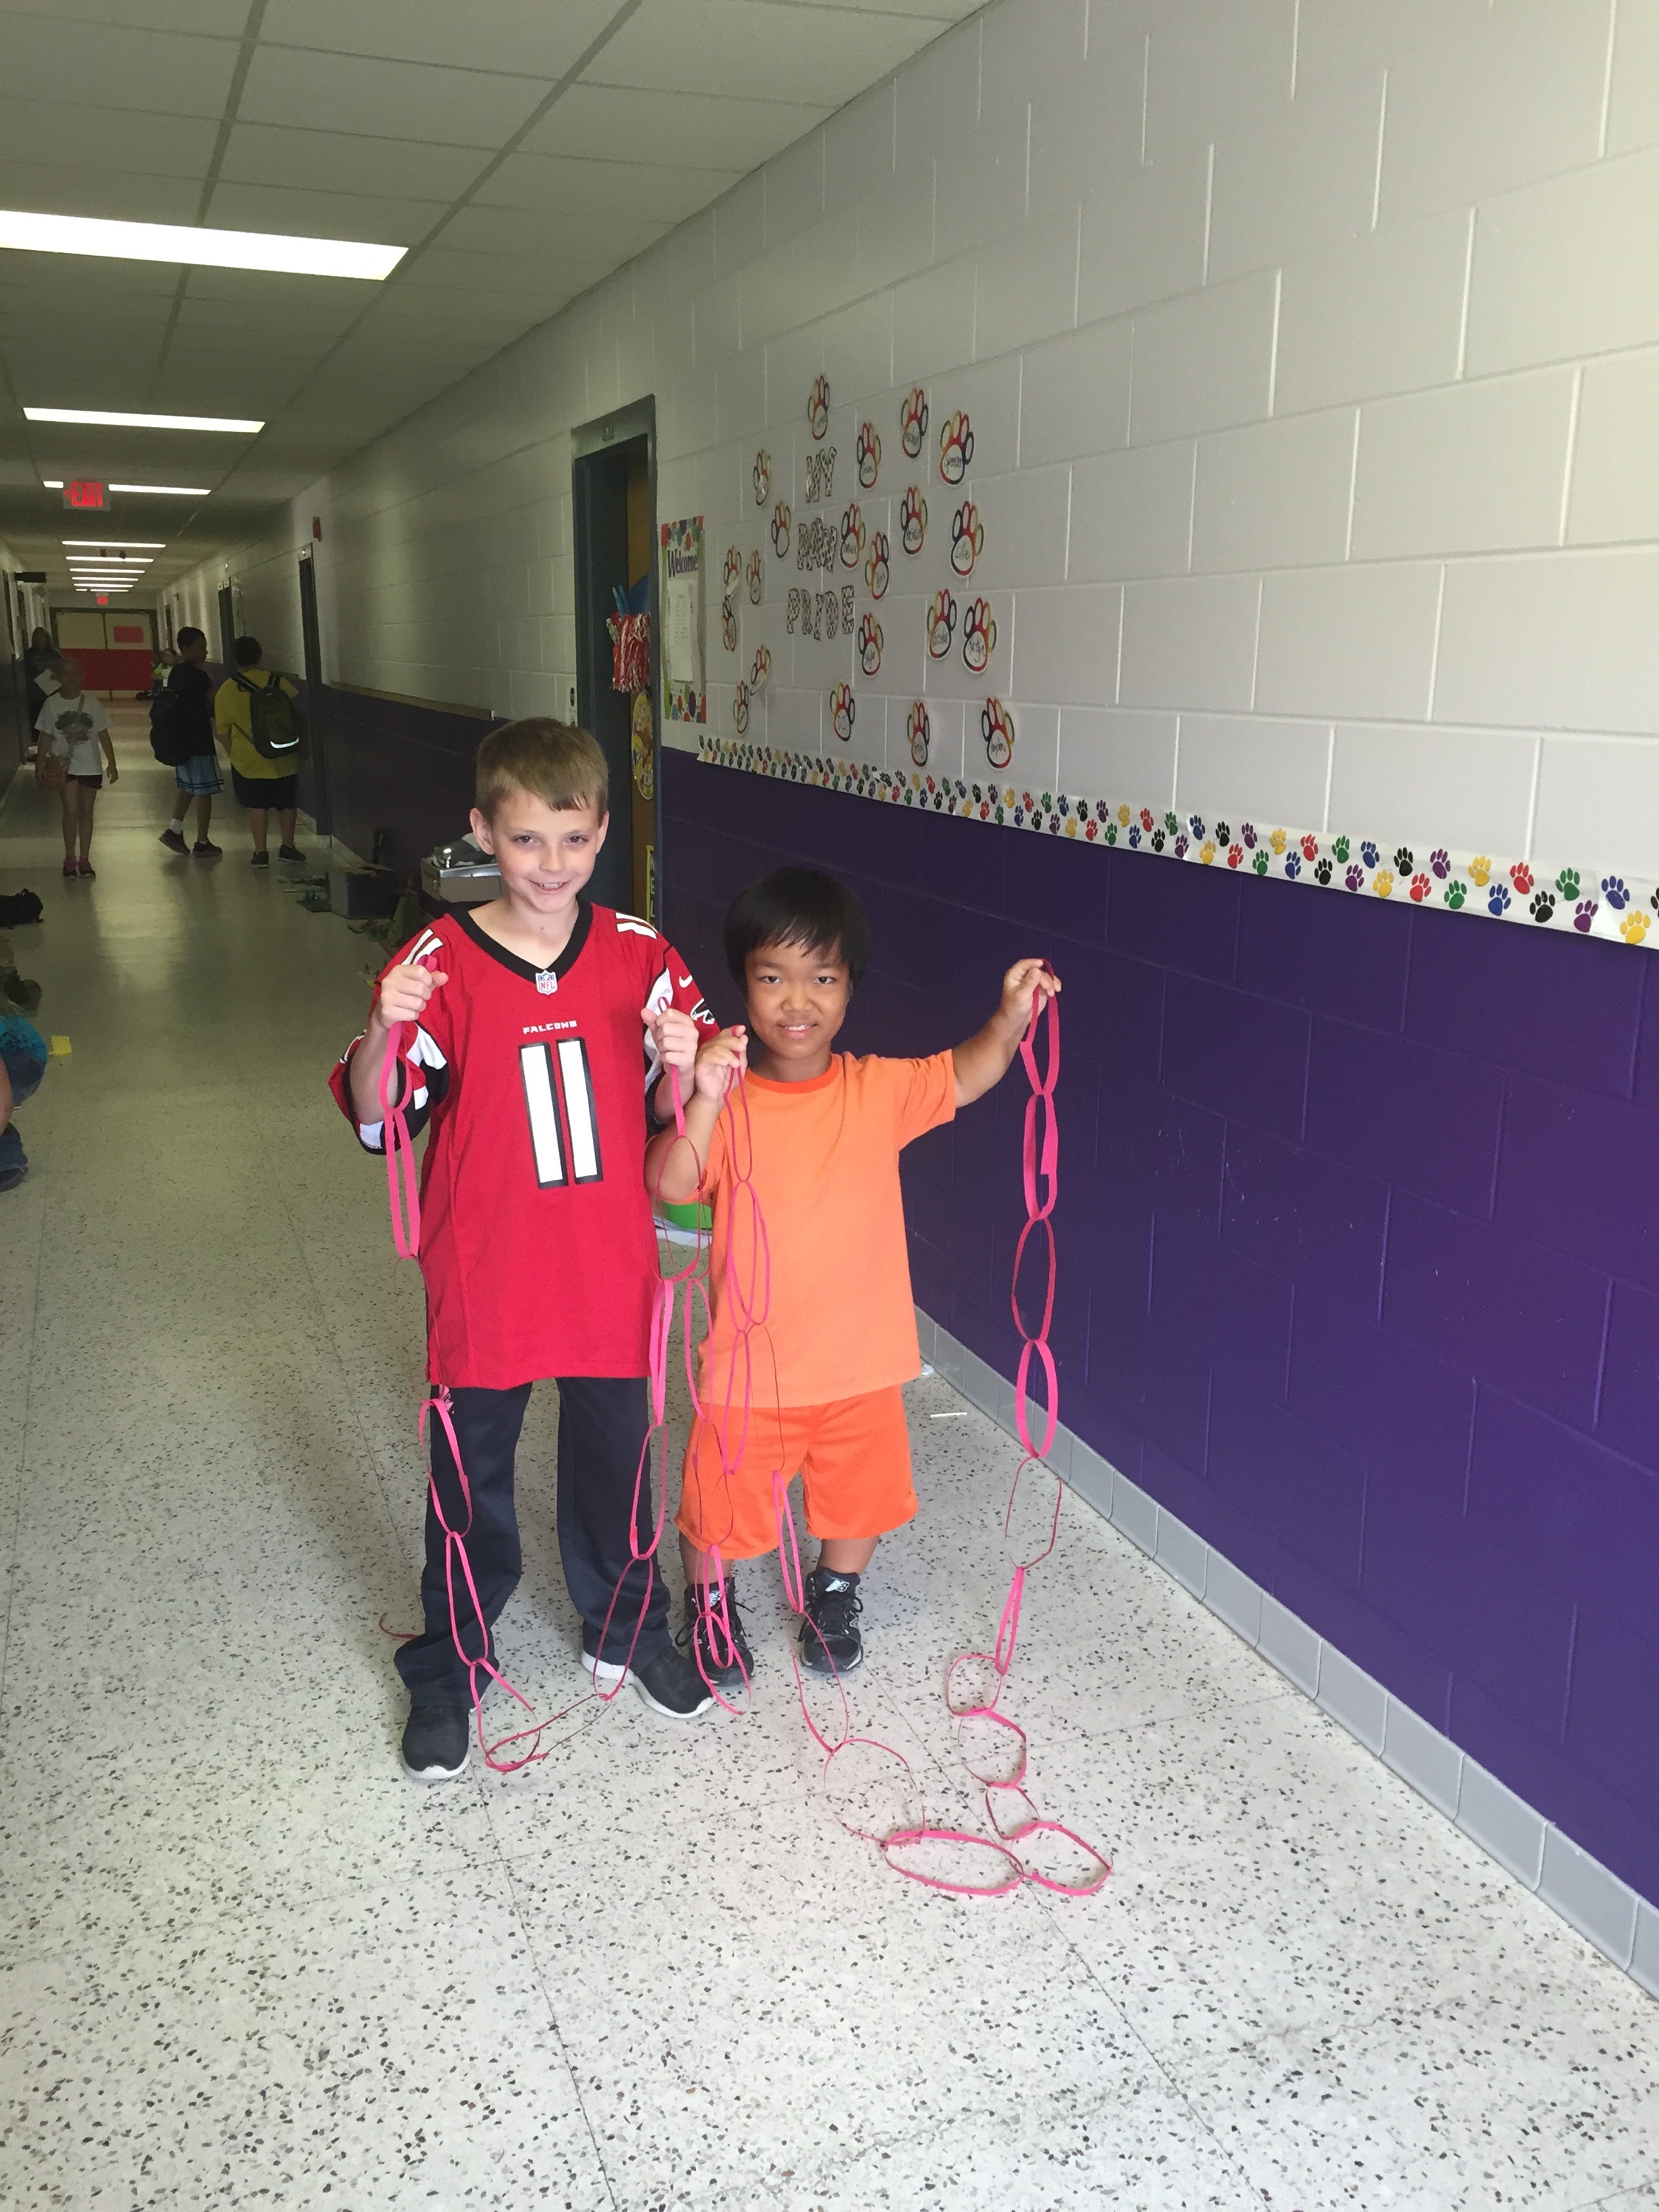
*The two boys in the back of the picture built the longest one in this room. Stay tuned — a picture of them and their chain appears at the end.
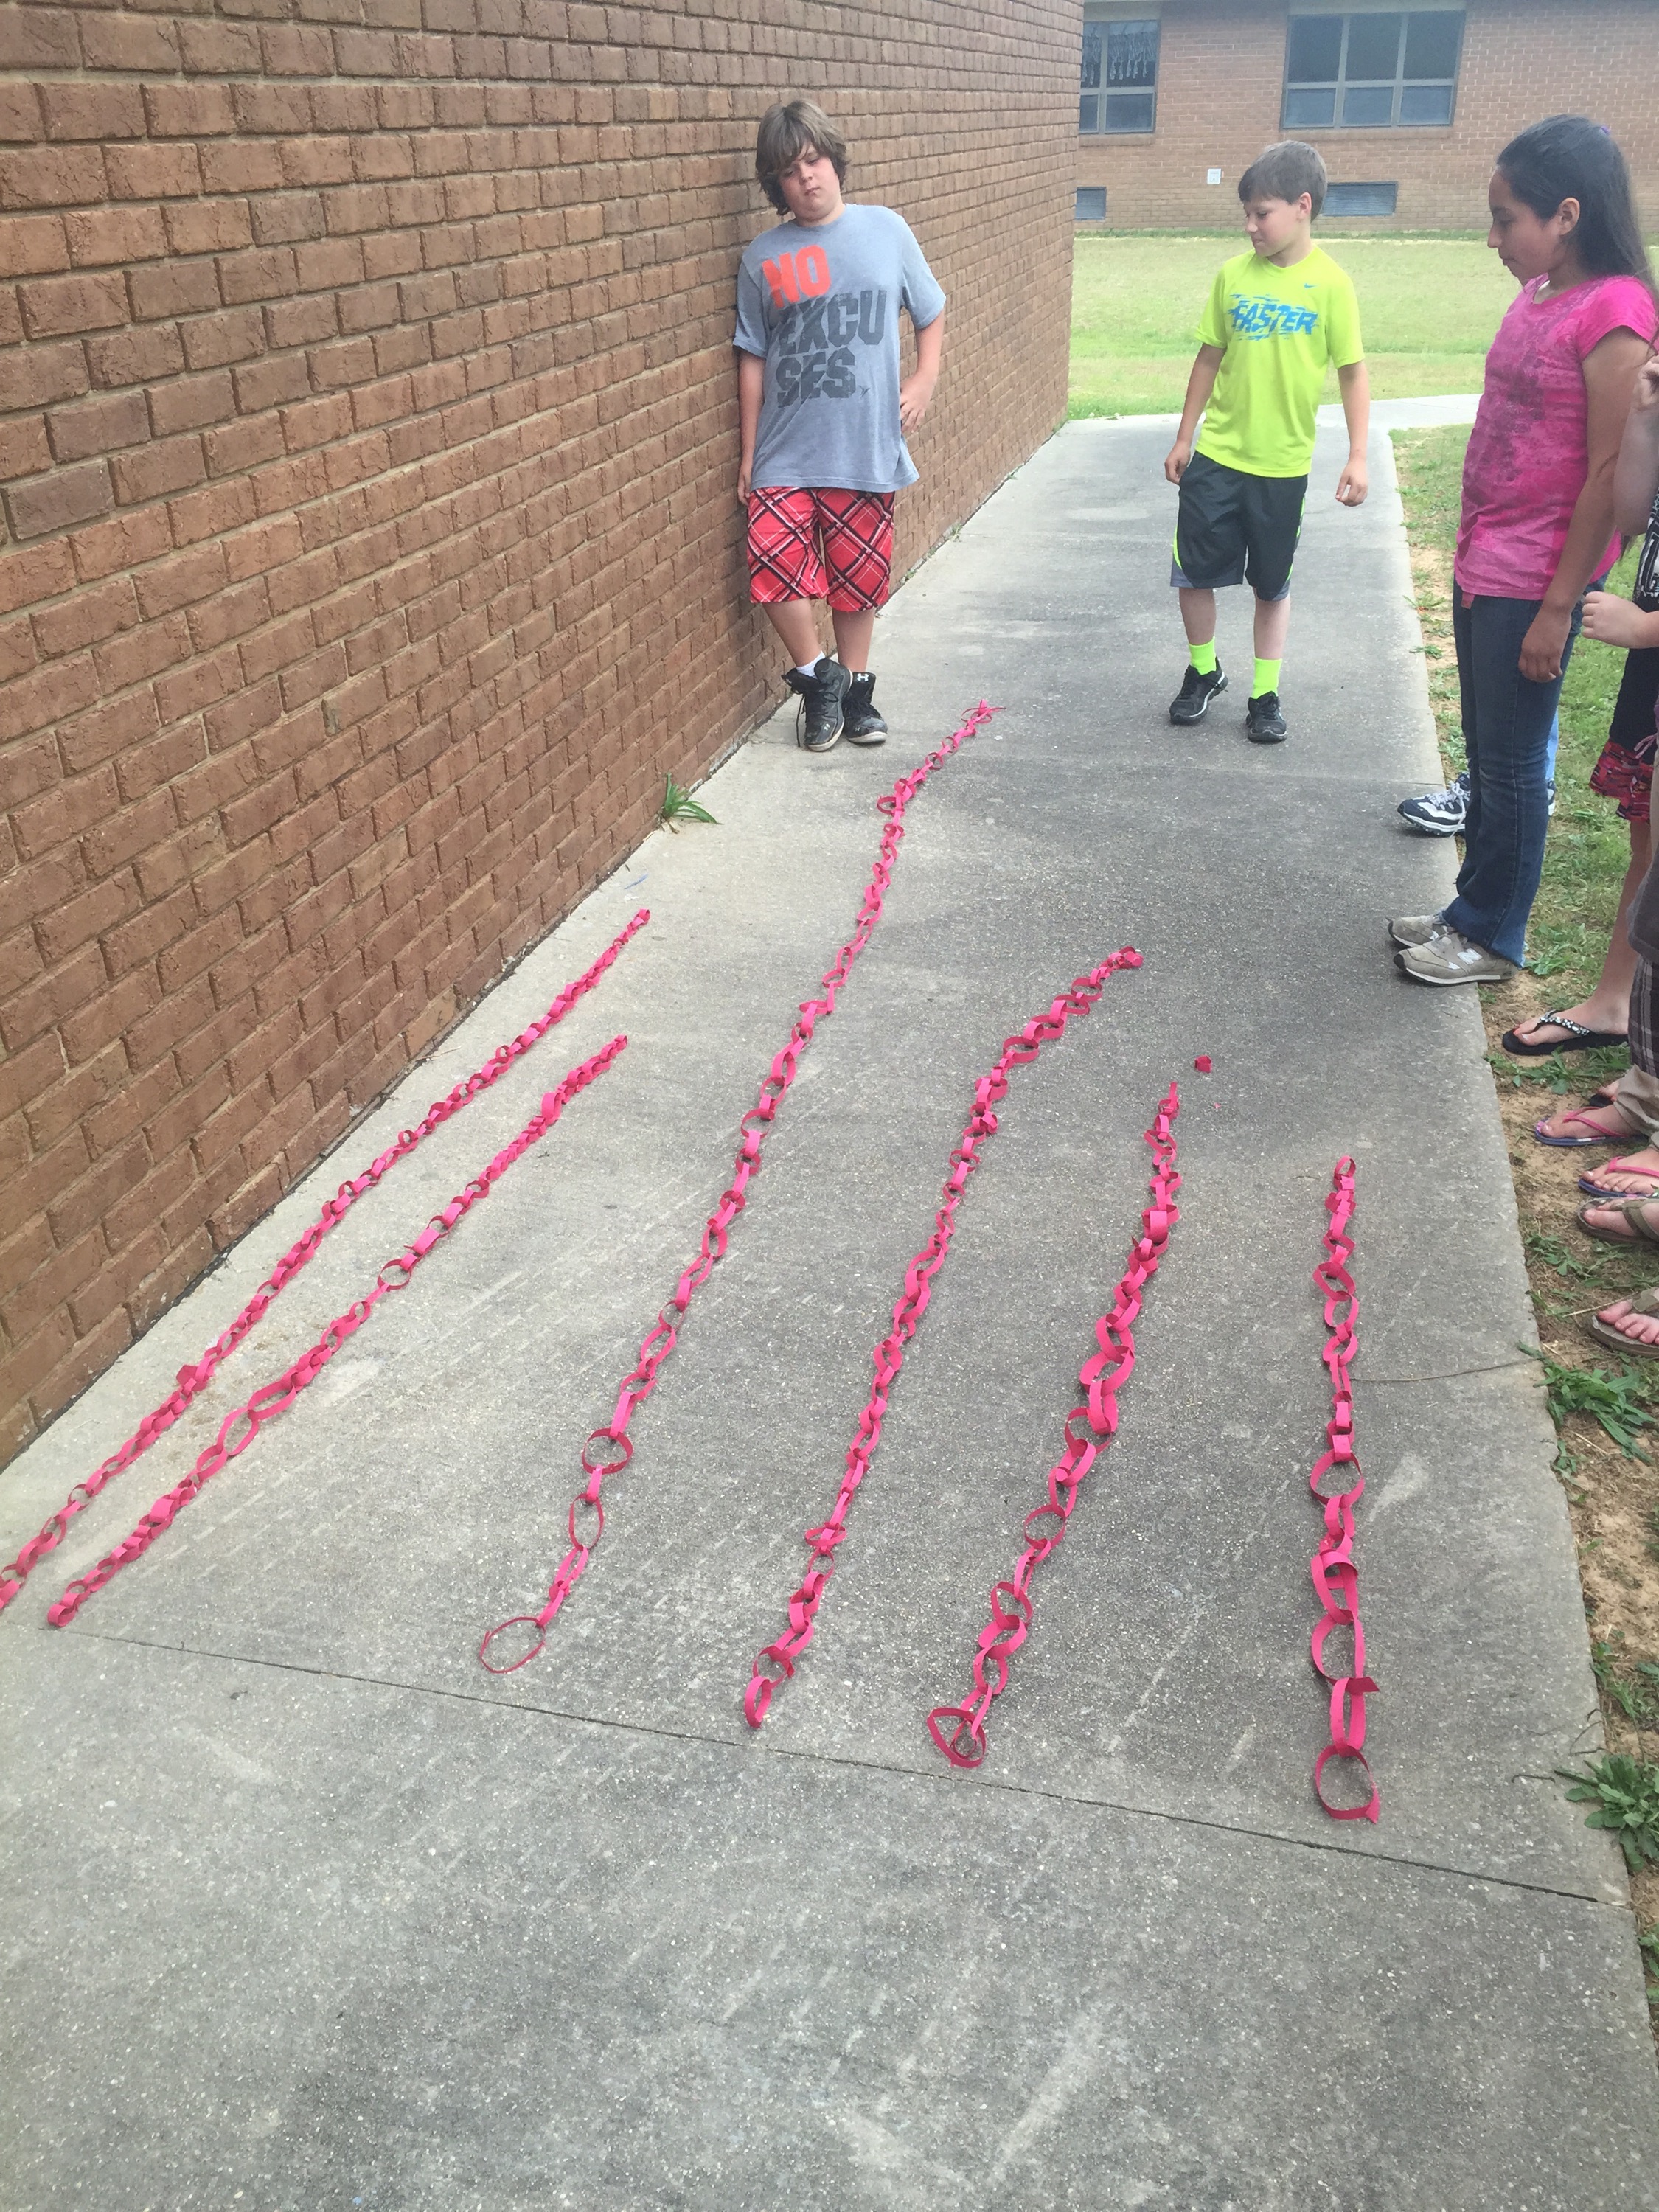
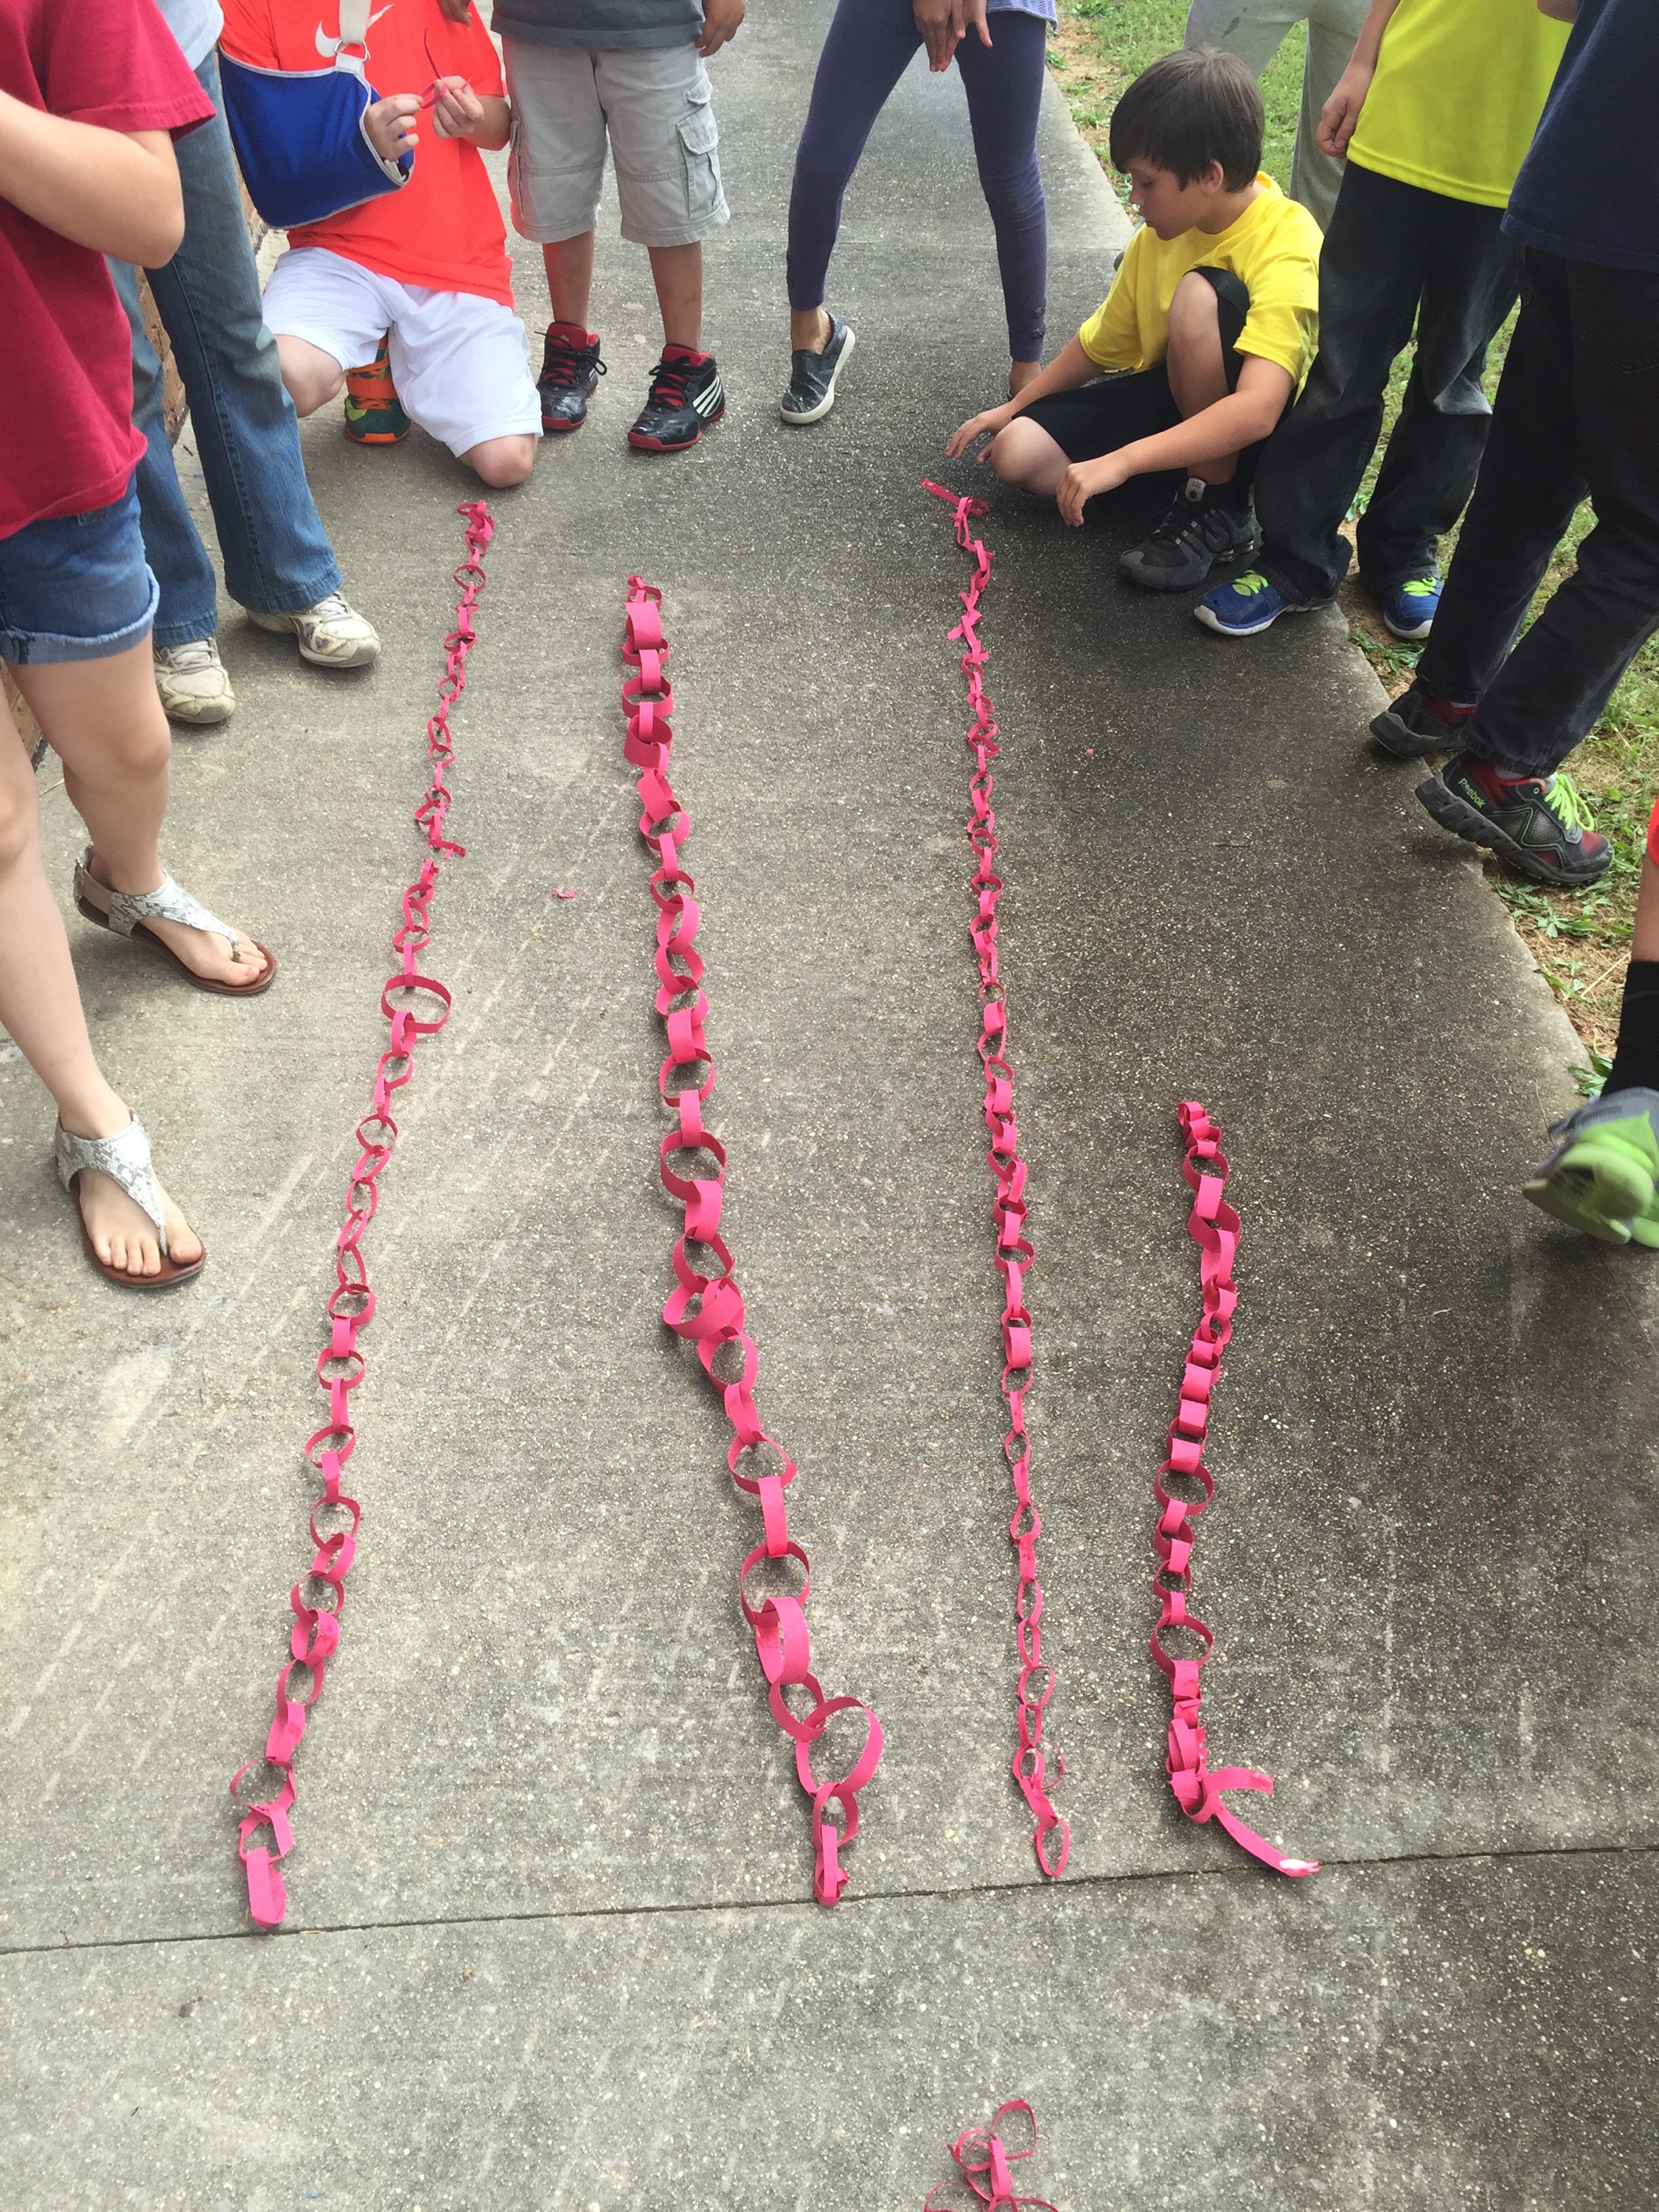
2nd Period:
The winner of 2nd :
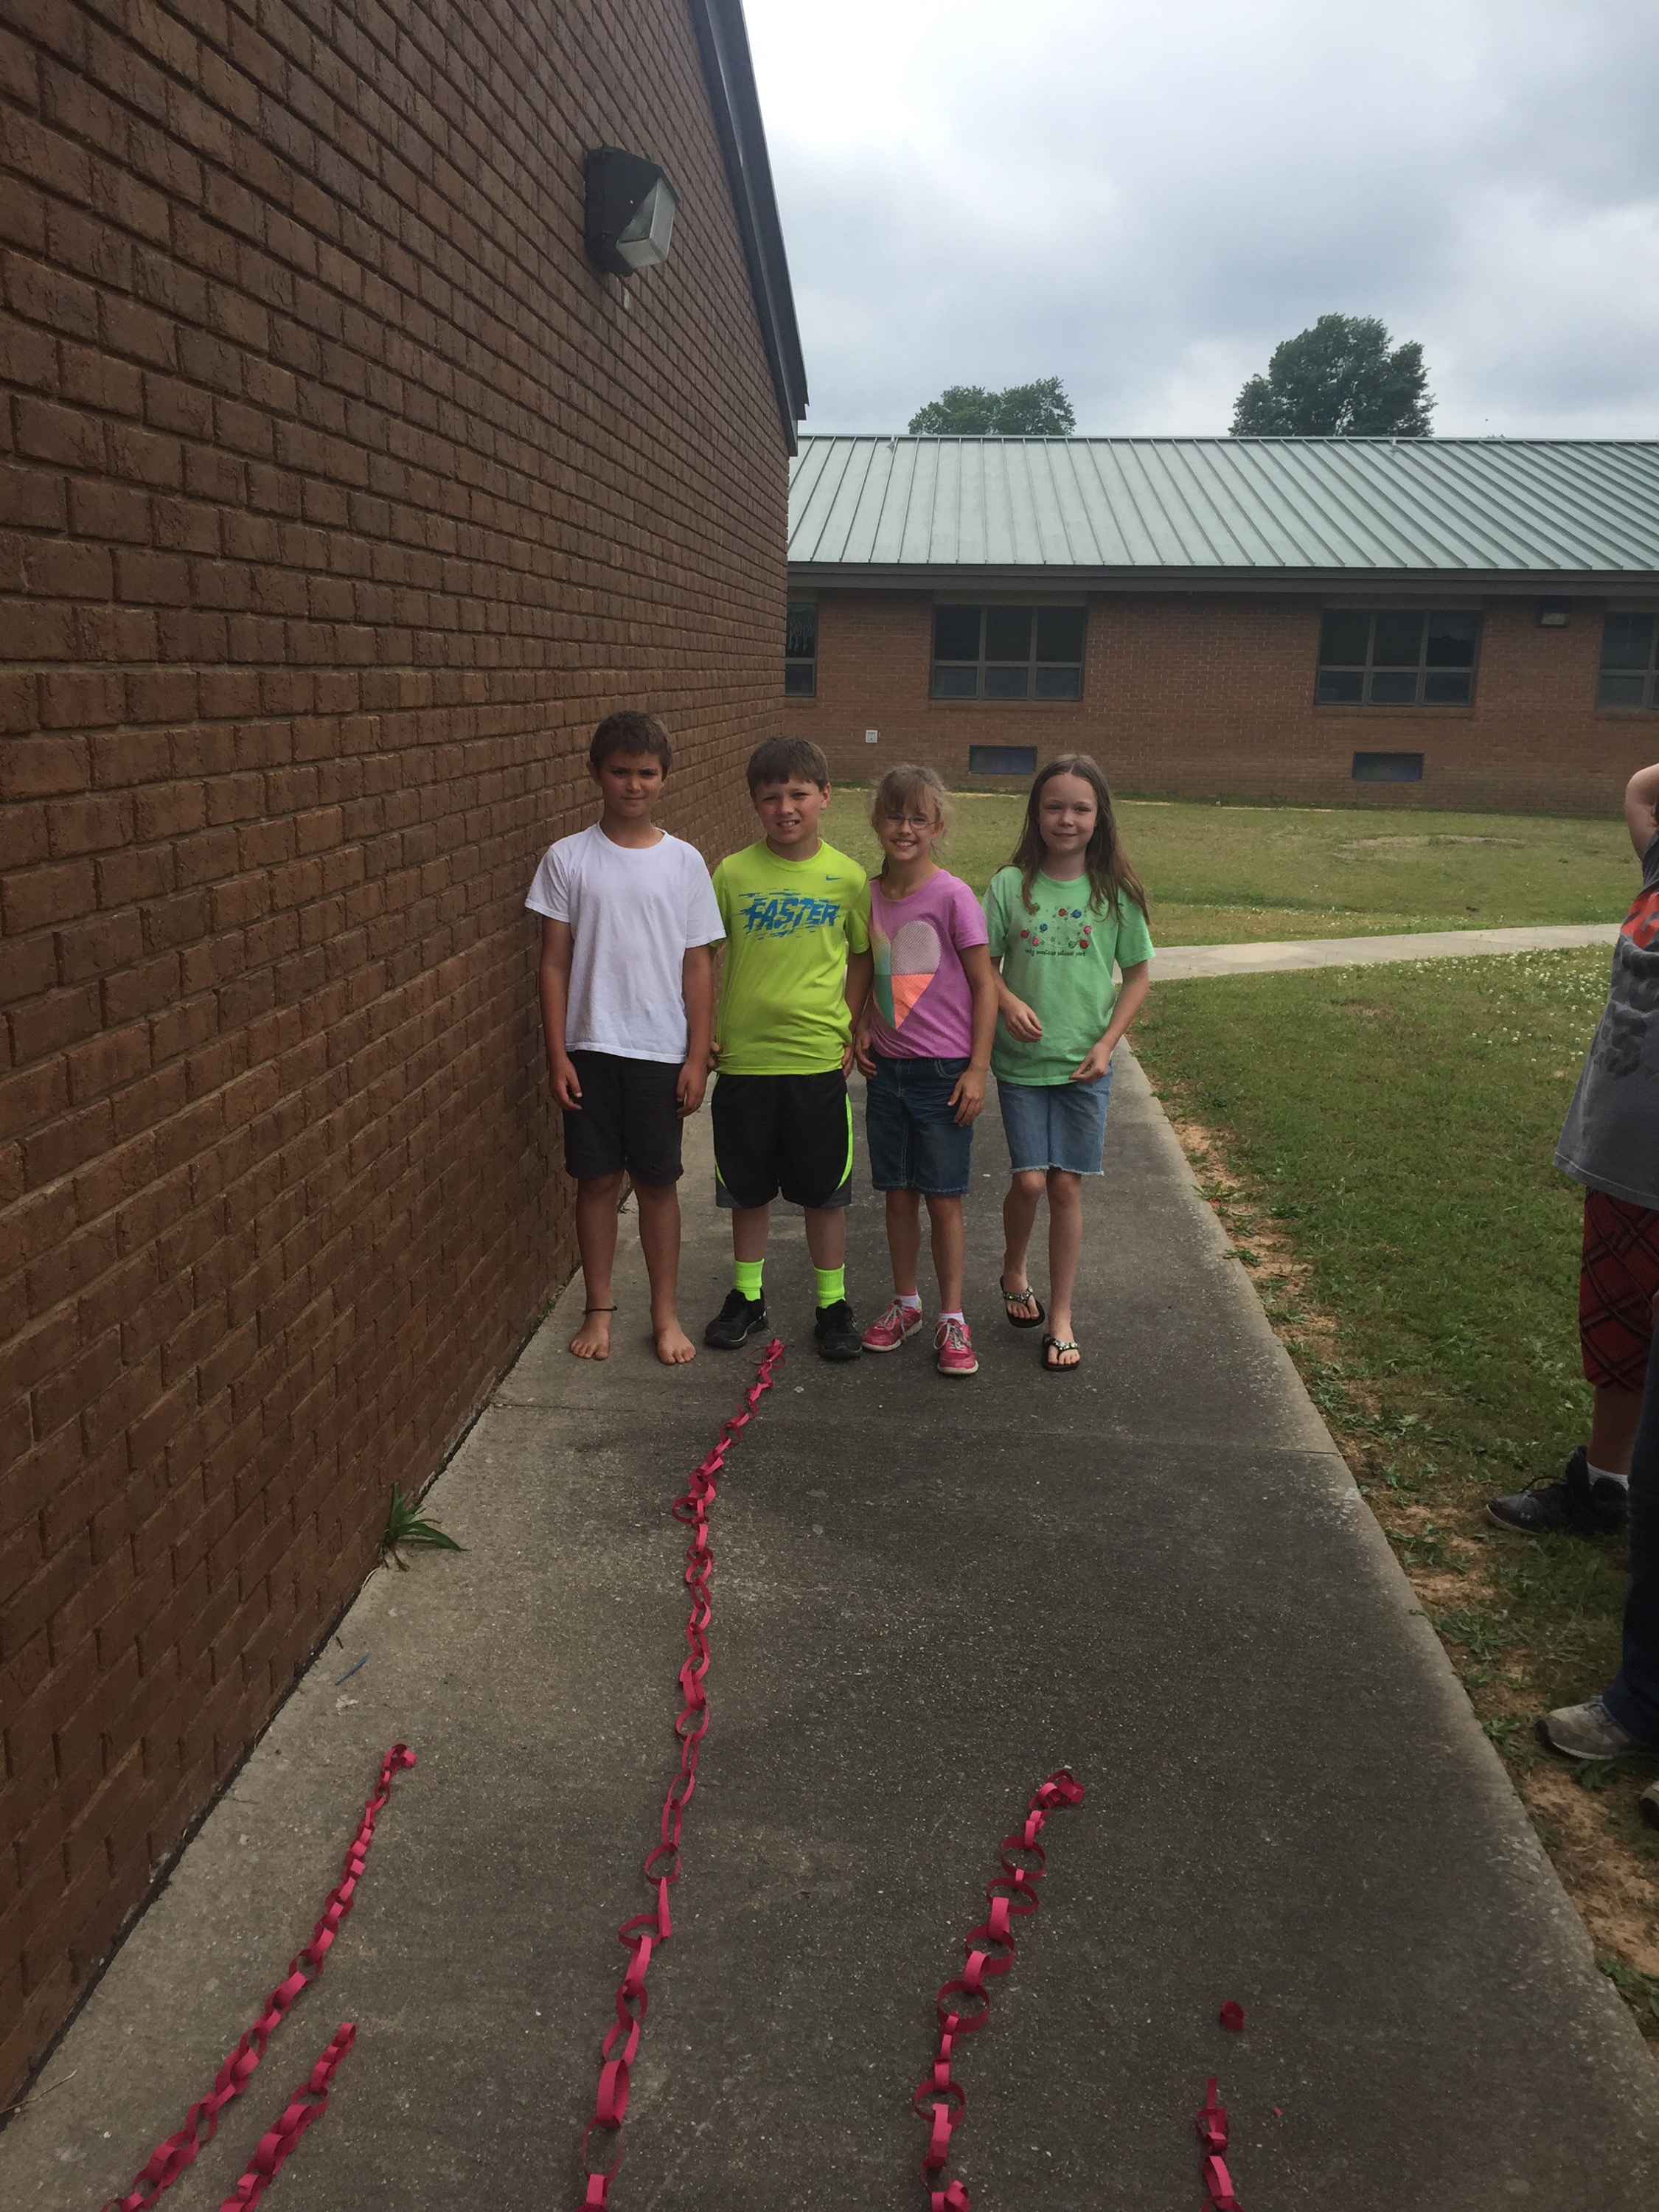
4th period:
The winning group from 4th:
5th Period:
5th period Winners —
2nd place —

6th Period —

6th winners
8th Period —
** At the end of the day, I assembled the winners circle. All the winners came back to see who had the longest paper chain. It had started raining so we had to line them up at the end of our hallway.
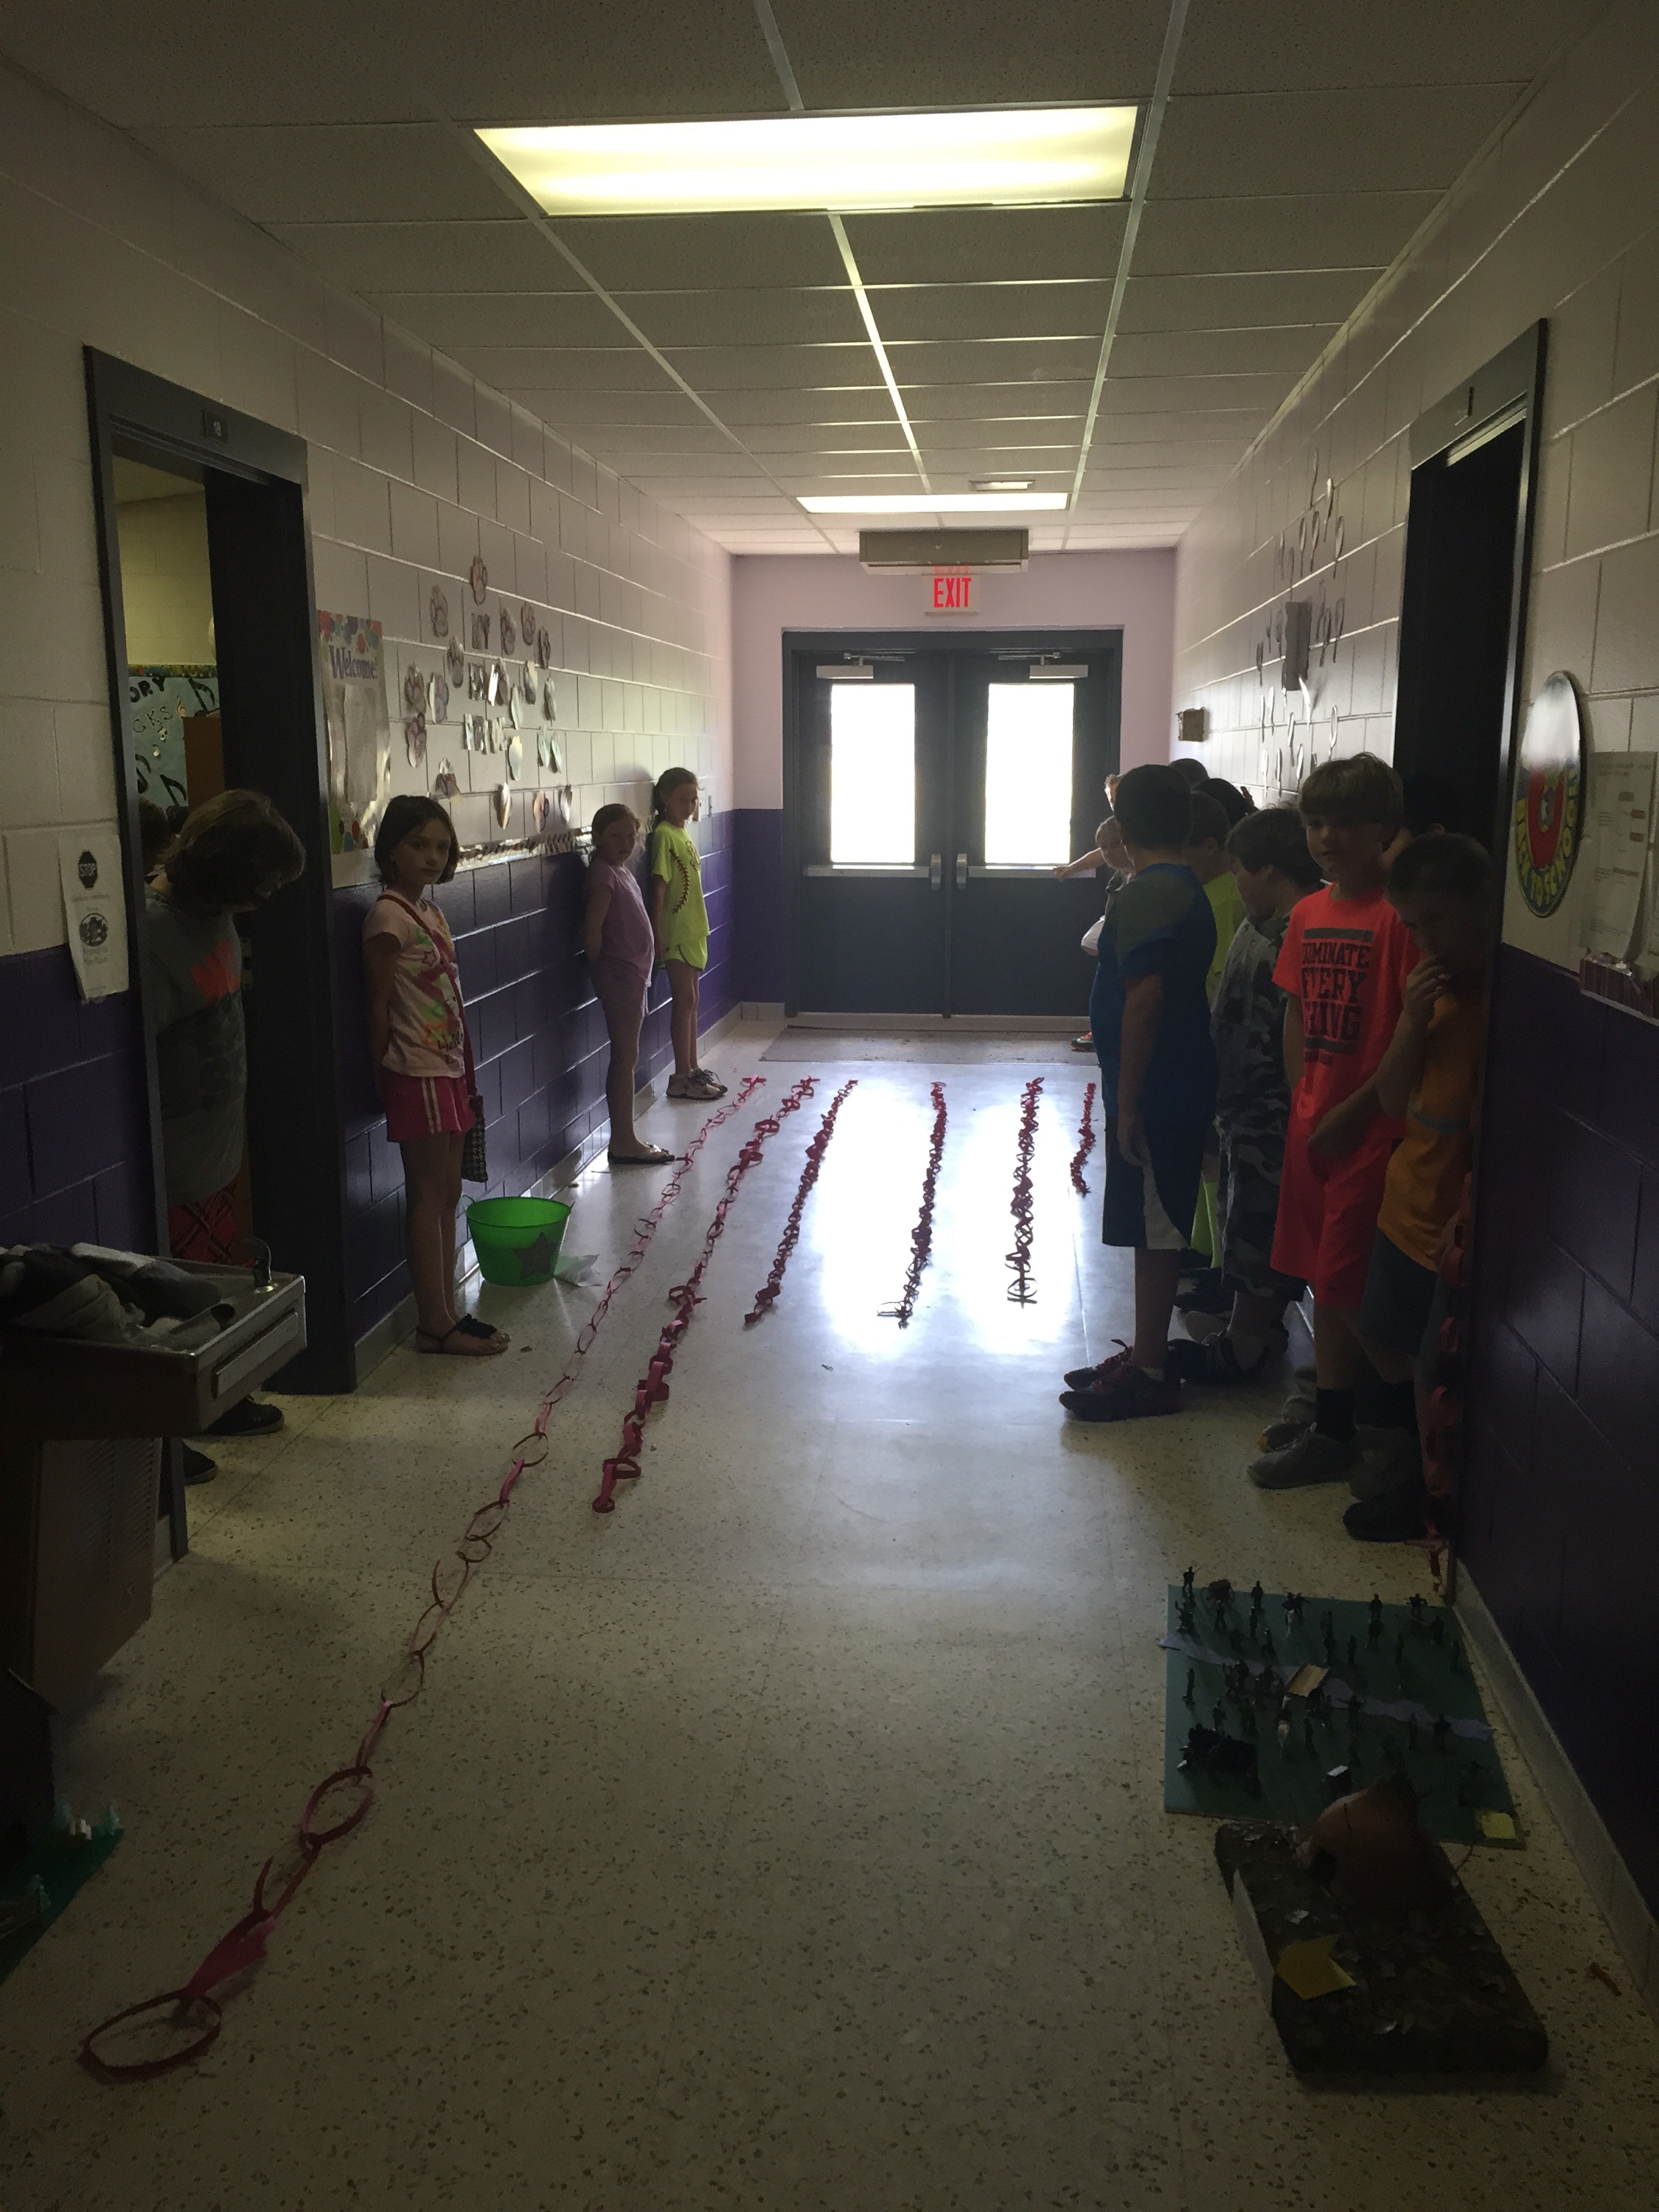
Look at all the hard work shown in this picture! I love how these 4th graders are so excited for challenges and learning tasks!!! The winners were from my Homeroom — I could not believe how much longer their chain was from the others!! We measured it — 24 and a half feet!! All from one sheet of construction paper!! 🙂 They donated it to my classroom. I am planning on doing this activity at the beginning of next year — we are going to tie it into a measurement unit. They want to see if they can beat the upcoming kiddos. We shall see!! Stay tuned!!
Hope everyone enjoyed participating or reading about our fun day!!!
Love,
Mrs. Goggans